Happy New Years everyone!
I had planned to write this post yesterday but a surprise trip to the ER after my husband cut the tip of his thumb off with his table saw while making cutting boards nipped that plan in the bud. We're home now and he's fine, his thumb's now just the *tiniest* bit shorter. We actually got a great laugh out of the trip, since this same time last year (January 3, 2011 to be exact) I was rushed to the ER with a pulled shoulder after passing out at the gym (embarassing, I know). But anyways, he's fine, and he's taking every opportunity he gets to make "thumbs up" references and jokes to show off his bandaged thumb.

Now onto the sewing... the good stuff. My two month absence from blogging was because everything I worked on in the months of November and December were Christmas gifts, so I didn't want to post about them because I didn't want the people receiving them to see what they were getting and ruin the surprise (I'm all about surprises). While I wasn't posting here, I WAS posting over at the
Christmas Challenge blog.
These are just a few of the things I made. Since there are so many I'm going to spread out posting about them over a few days or maybe a week.
I made these potholders for my aunt to match the tablerunner I made her last year. It was only after finishing them that I realized the red stripe fabric wasn't the same that I used on the tablerunner (the other stripes were thinner), but they look close enough I'm going to not worry about it.
I followed the tutorial from
Amy of Lots of Pink Here! for her
travel sewing kit that was a part of the
12 Gifts of Christmas blog hop hosted my
Ellison Lane Quilts and made five of these for my family.
They weren't all the same, I switched up the fabric for different ones, but in the effort of not overwhelming this post with pictures I only included the pictures of one (the one for my sister). I included some spare buttons and safety pins with each kit as well as scissors, white and black thread, needles and pins. Everything you could need to face any sewing need while traveling.
Unfortunately the sun was bright on the day I took photos of these so the color's a little off. Oh well, I guess that's what happens when you live in southern California.
I also made four thread catchers using Candace of
Made with Love's
Squirmy Worm Studio pattern.
They were amazingly easy and quick to make, so much so that I made myself one even though I was rushing to get Christmas presents done in time. I made just one alteration while making them and that was to sew the non-slide backing on the back of the pin cushion using my machine before sewing the cushion together instead of sewing it on by hand after finishing the cushion as the pattern directed. It seemed more secure to me that way and took a lot less time.
I made an iPad case for my sister's BF using Faith of
Fresh Lemons' tutorial that was also a part of the
12 Gifts of Christmas Blog Hop.
I used the viewfinder fabric from Ruby Star Rising and some grey Kona on the outside, and some super soft grey flannel on the inside. I bought enough fabric to make one for Hubby too, but he was uninterested in having me make him one until he saw Ryan's made and ready to go. Since he waited until the last minute to decided he DID want one I haven't made his yet, but it's either going to be out of the same fabric or out of the transistor radio fabric from the same line, haven't decided yet.
I asked my mom what she wanted me to make her for Christmas and she told me a tote bag of the quilted variety, in dark colors. I could have easily made my own pattern but I happened to have the
Simplicity 2600 pattern so I used it for the tote.
Anyone who quilts and sews using patterns should laugh at what step one of the pattern was: "cut out all pattern pieces and quilt", yeah, simple as that. Needless to say step one was the one that took up the most time, but enjoyed it because it gave me a chance to play with how I quilted it.
All of the pieces were quilted differently. I used Pellon Thermolam as batting because I read somewhere that it was a perfect thickness for bags, and whoever wrote that (I'm sorry I can't remember who) was definitely right. It was exactly what I needed. I opted to not get the fusible kind since quilting was step one and it was $2 cheaper a yard, and it worked great for me.
I really liked the prints I used, and thankfully so did my mom! They're both from Joann's and I have no idea who made them or what collection they were from, but the green is very pretty up against the floral main body fabric.
The alterations I made to the pattern were to skip the zipper closure. I figured that my mom wouldn't really need it and I didn't like the way the pattern called for it to be added on. Since I skipped the zipper I made some binding out of leftover main body fabric and used it to bind the opening of the bag.
I also changed the inside pocket a bit. The pattern called for one giant pocket that spanned all the way across the inside of the bag. The problem with that was that it was super floppy since it was so large. I didn't want to add a vertical line to the front of the bag by connecting the pocket to the body of the bag in the center, so I opted to hide where I sewed the pocket to the bag by putting the line where the straps were. It ended up working out perfectly that I made the pockets two different sizes because the larger pocket was just the right size to tuck a magazine in. I also got my mom a year subscription to
McCalls Quilting magazine so I bought the current one and made a "one year subscription" tag and attached it to the current issue then slipped it into the pocket of the bag and wrapped both together. She loved it.
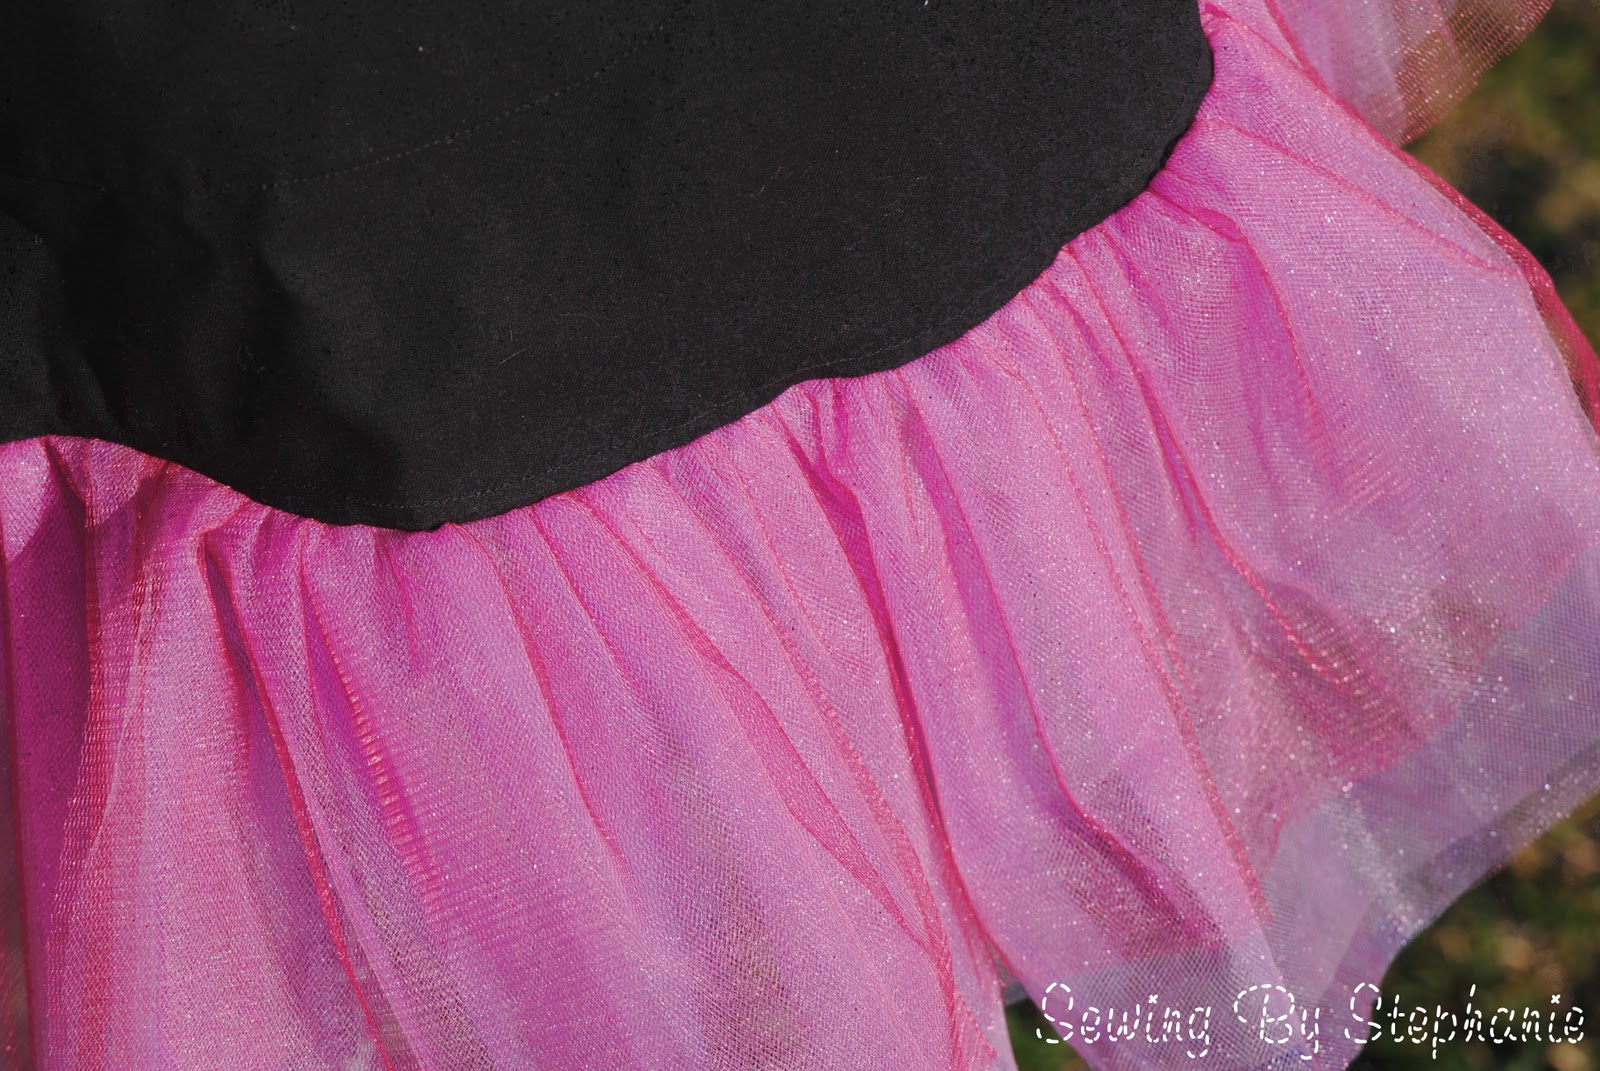
For my aunt who doesn't sew I made an apron. A few months ago I went to a scrapbooking show with her and one of the ladies demo-ing something was wearing an apron decked out with a tulle skirt, and when she saw it she turned to me and said "I want that". Okay, hint taken.
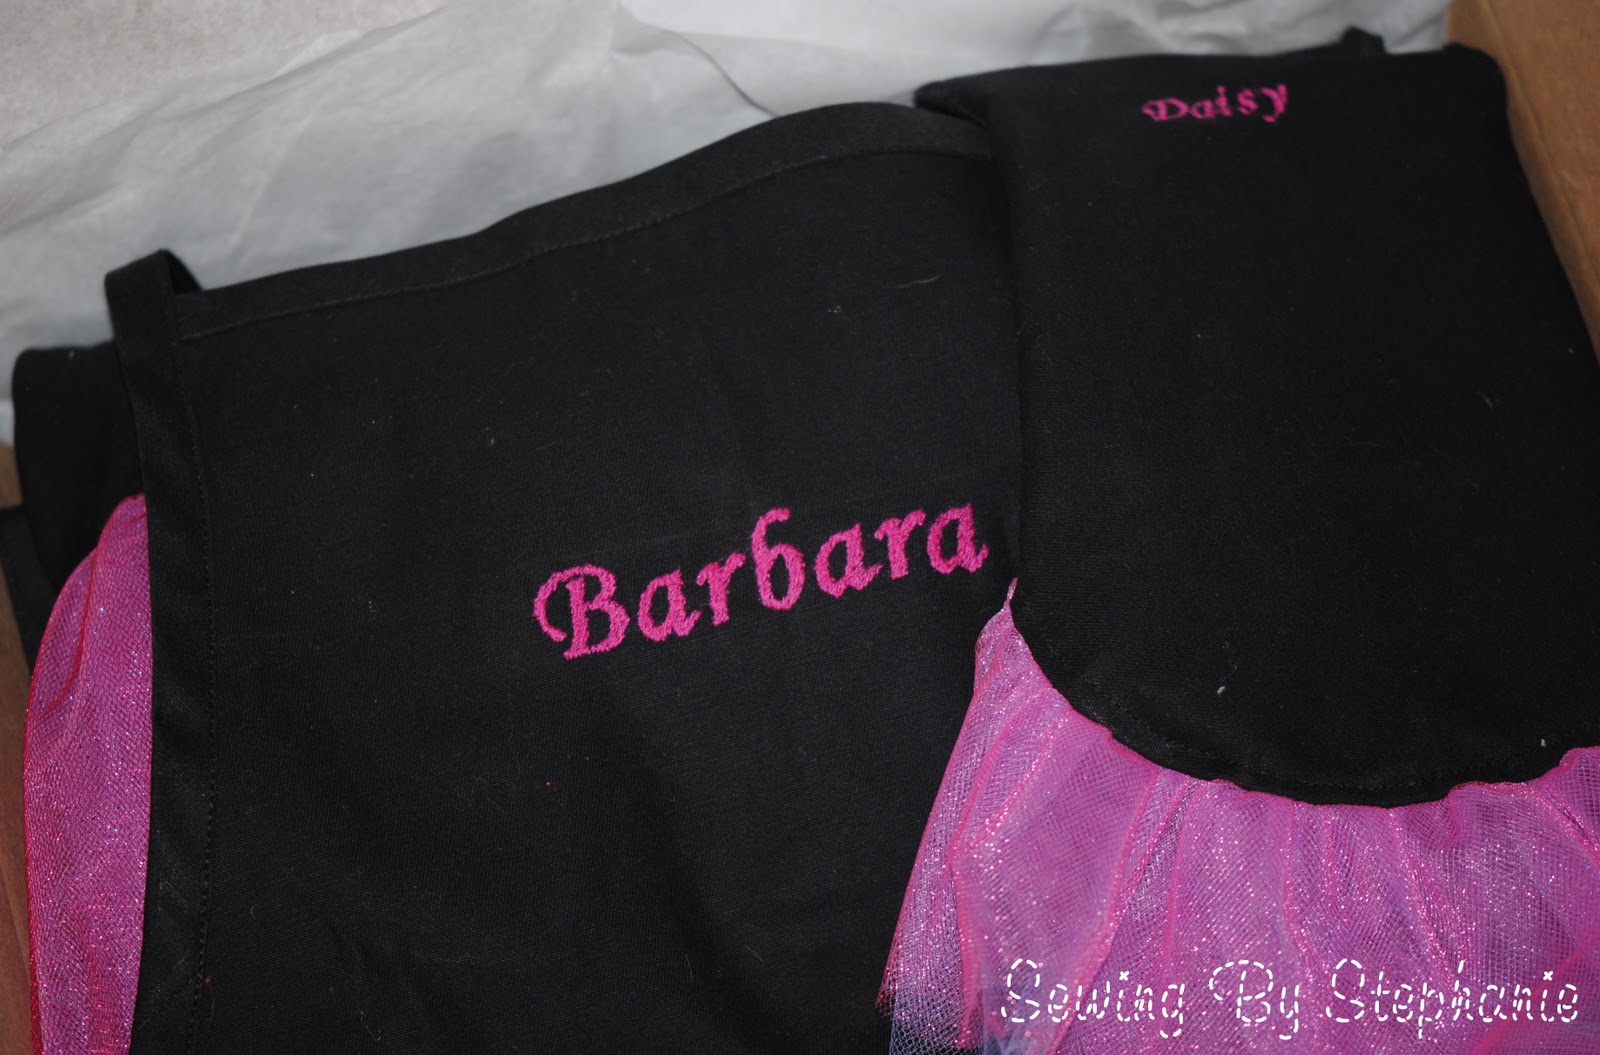
I could have made it easier on myself and bought an apron to add the skirt to, but I didn't do that. Instead I made the whole thing and embroidered her name in pink on the front-- she's girly like that. The tulle is five colors layered to make a pretty purple-pink effect, and then doubled for poofy-ness.
And since Barbara takes her mini dachshund Daisy with her everywhere I made a matching apron for Daisy.
Here Daisy is on her dad's lap on Christmas Eve. Sadly I didn't get a photo of her in her apron, but I'm sure I'll get a chance at the first party Barbara throws in the year.
I have a few more things I've made recently, but as I said, I'll save those for another day.
Happy Sewing!
-Stephanie


