
January Block- Hive 10: Scrappy String Block

Materials needed:
-Fabric scraps in bright fresh colors (ranging in length 12 inches to 2 inches, and in width 1 inch to 2 inches)
-White fabric measuring 4 inches by 12 inches
-Glue stick
-Scratch paper
-Pen
-Ruler
We'll start our blocks by making our templates. We're going to be sewing our fabric strips directly onto the paper and then tearing the paper away, so it's good to use a thinner paper. I know some people like to use pages from a phone book since they're nice and thin. I didn't have any phone books laying around, so I just used scratch paper.


Using your ruler draw an 8 inch square. Draw a diagonal line through the square, and then draw a dotted line 1/2 inch above and below the diagonal.

Next cut your white fabric into 4 strips 1 inch by 12 inches long. I used Kona white, but you can use any white or off white.

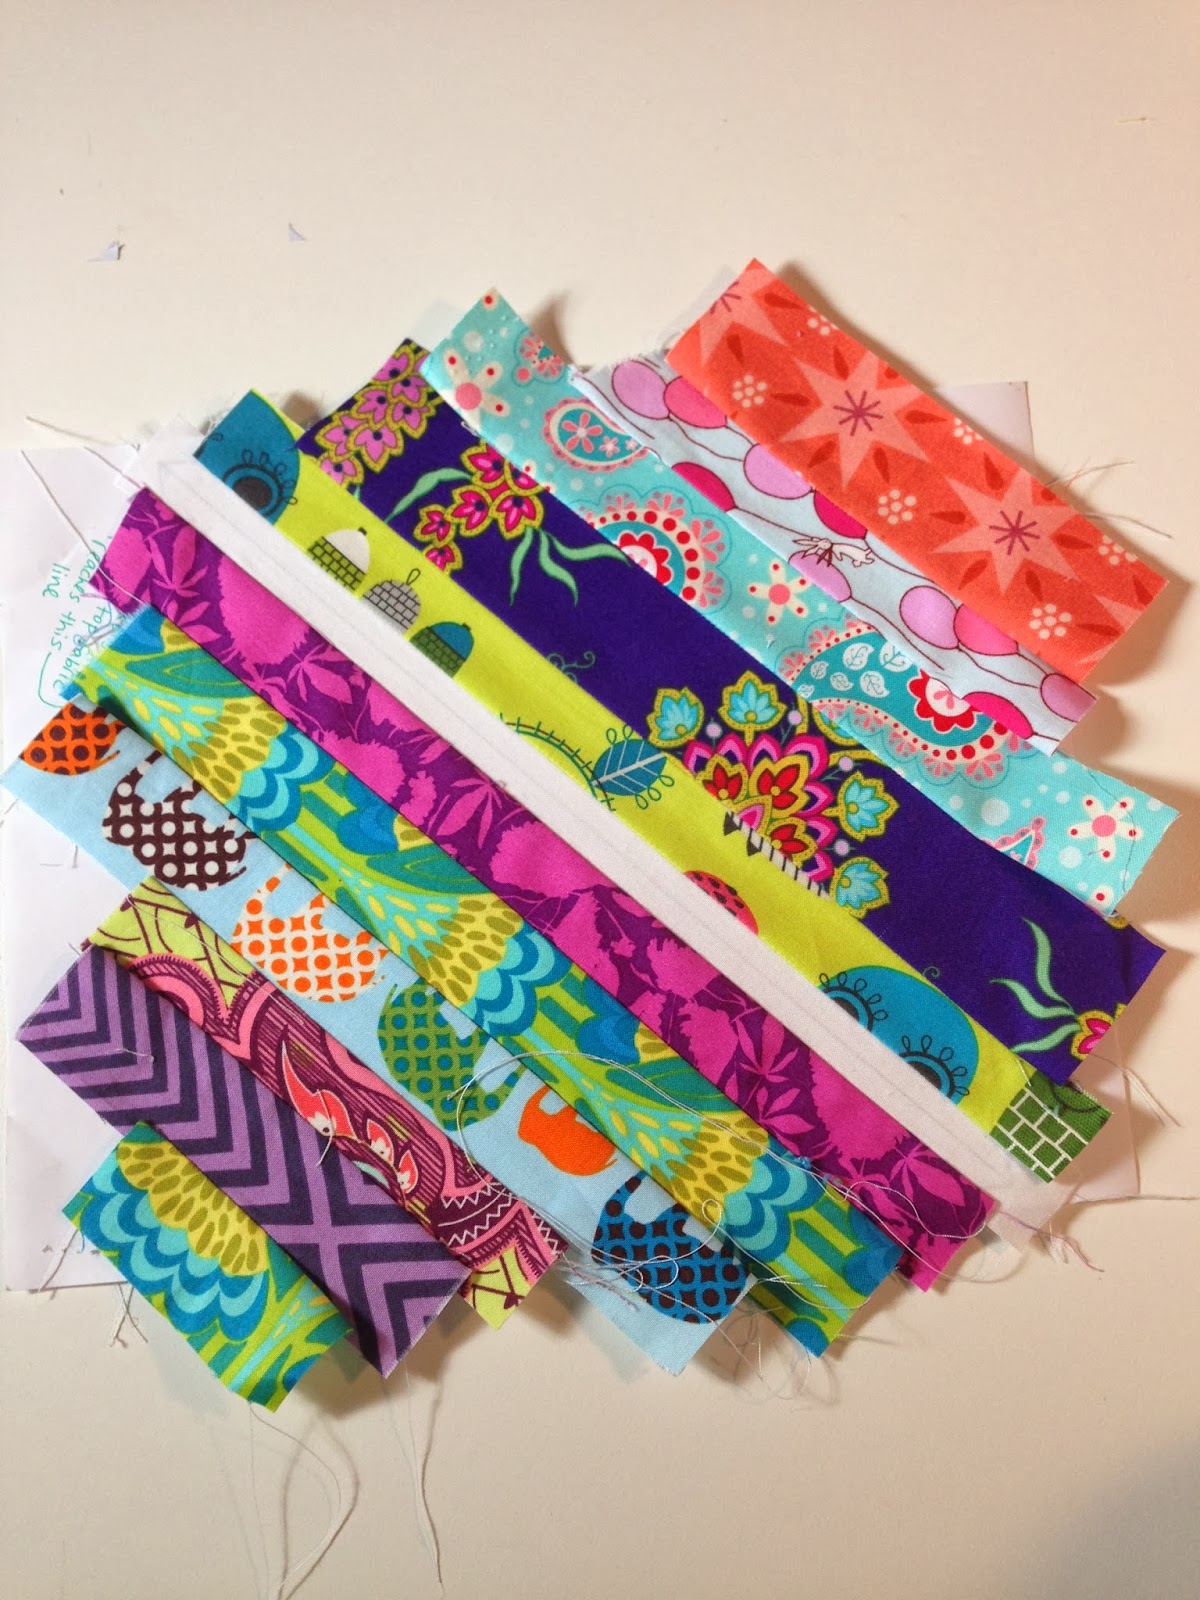
Now for the fun part! Time to pull your fabric for the strips. I went a little overboard and this is the pile I pulled.


Grab your next strip and lay it down right sides together with edges aligned. Sew along the edge with a 1/4 inch seam allowance. Open and press.


Now grab your other stack of strips and start on the other side of the template.


I found the easiest way to tear the paper away from the block was to fold along each seam, and then give the block a tug to pull the paper from the seams.

The seams will all be pressed towards the outsides of the blocks as a result of pressing the block as you go. Don't feel you need to press the seams open, having them pressed to the sides is fine.


Now give it a good press with your iron and it's ready to go!


Now that you've made one, it's time to make 3 more! Once you get the rhythm of how to make them down they go very quickly. Here are six of them that I made:

****Bonus Tutorial****
How to add a selvage edge to your quilt block:
On the sixth block I made I added a selvage edge. I thought it was fun and added an interesting aspect to the block, so I thought I'd share how I did it.
Cut the selvage strip just like any other strip, but do not cut along the finished edge of the fabric, since it's already finished :-) (I probably didn't need to say this, but I thought I'd include it just in case there was any confusion)
Start your block just like any other block.

When it's time to add in the selvage strip, instead of laying the selvage strip right side down on top of the template and matching the seam with the strip below it, you're going to lay the selvage strip right side UP and overlap the finished edge with the strip below it.

Now sew down the strip as close to the edge as you can get. In the picture below my needle is approximately 1/8th inch (or possible even less) from the edge of the finished selvage edge.

Once you've sewn down the selvage edge, just continue your block following the tutorial above!
0 comments:
Post a Comment