Showing posts with label quilting. Show all posts

Sunday, December 29, 2013

Scrappy String Blocks + Bonus tutorial!

Hi everyone! January is my month as queen bee in hive 10 for the 2014 round of Stash Bee, and since I just spent what felt like forever writing a tutorial on how to make these blocks I thought I'd go ahead and share the tutorial with all of you.  Enjoy!

January Block- Hive 10: Scrappy String Block


Materials needed:
-Fabric scraps in bright fresh colors (ranging in length 12 inches to 2 inches, and in width 1 inch to 2 inches)
-White fabric measuring 4 inches by 12 inches
-Glue stick
-Scratch paper
-Pen
-Ruler

We'll start our blocks by making our templates.  We're going to be sewing our fabric strips directly onto the paper and then tearing the paper away, so it's good to use a thinner paper.  I know some people like to use pages from a phone book since they're nice and thin.  I didn't have any phone books laying around, so I just used scratch paper.


Using your ruler draw an 8 inch square.  Draw a diagonal line through the square, and then draw a dotted line 1/2 inch above and below the diagonal.


Next cut your white fabric into 4 strips 1 inch by 12 inches long.  I used Kona white, but you can use any white or off white. 

Now for the fun part! Time to pull your fabric for the strips.  I went a little overboard and this is the pile I pulled.


I then ironed the scraps and cut the fabrics into strips ranging from 1 inch wide to 2 inches wide.  I think the majority of my strips were around 1.5 inches to 1 inch wide.  I didn't worry too much about the length of the strips, I just made sure some of them were at least 12 inches long.


Now grab some strips and arrange them over the template.  You want to make sure the fabric overlaps each other and the edges a bit.  One you have the strips picked out you can stack them in order and set them to the side.


 Now take your gluestick, your template, and one of your white strips... it's time to get started. 


On the template, zig-zag your glue stick along the diagonal, filling in the spaces between the lines.  Then lay your strip on top of the glue.  (you could, of course, omit the glue and either pin your strip in place or carefully hold it in place, but the gluestick works wonderfully)


Next, grab your first strip and lay it on top of the white strip, right sides together.   You'll want to make sure that the fabric strip you're about the sew is long enough that it goes over the edges of the template where the seam will be (1/4 inch from the edge).  Check your needle placement to make sure you have a 1/4 inch seam allowance, and shorten your stitch length (I set mine to 4, where my normal stitch length is 5), and you're ready to sew.  Sew down the edge of the strip, going back and forth at the beginning and end of the strip to lock the stitches.


 Now either finger press the seam open or press using an iron. 


Grab your next strip and lay it down right sides together with edges aligned.  Sew along the edge with a 1/4 inch seam allowance.  Open and press. 


 Repeat until you've covered one side of the template.


Now grab your other stack of strips and start on the other side of the template.
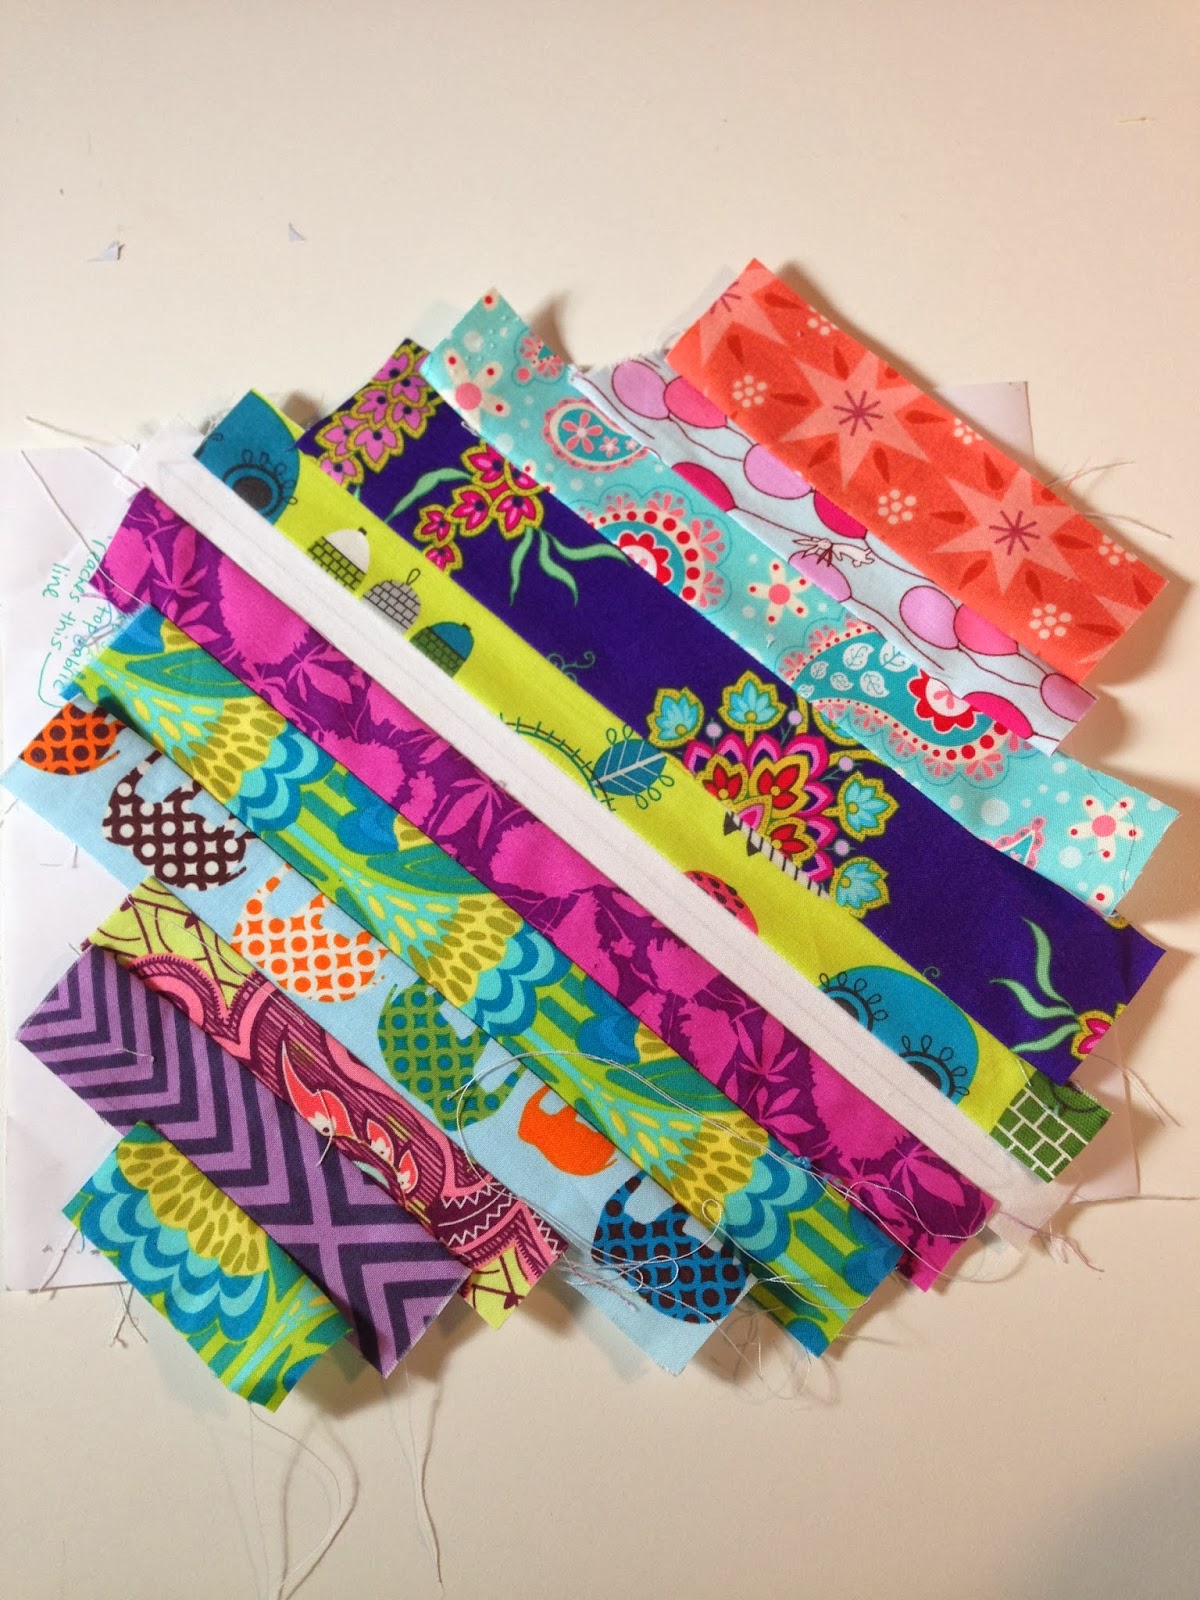

Now that your template is covered it's time to trim it down to size (8 inches by 8 inches). I found it easy enough to flip the paper over and trim along the lines drawn on the front of the template.


I found the easiest way to tear the paper away from the block was to fold along each seam, and then give the block a tug to pull the paper from the seams.


The seams will all be pressed towards the outsides of the blocks as a result of pressing the block as you go.  Don't feel you need to press the seams open, having them pressed to the sides is fine.


 Now give it a good press with your iron and it's ready to go!


Now that you've made one, it's time to make 3 more!  Once you get the rhythm of how to make them down they go very quickly.  Here are six of them that I made:


****Bonus Tutorial****
How to add a selvage edge to your quilt block:
On the sixth block I made I added a selvage edge.  I thought it was fun and added an interesting aspect to the block, so I thought I'd share how I did it.
Cut the selvage strip just like any other strip, but do not cut along the finished edge of the fabric, since it's already finished :-) (I probably didn't need to say this, but I thought I'd include it just in case there was any confusion)
Start your block just like any other block.  


When it's time to add in the selvage strip, instead of laying the selvage strip right side down on top of the template and matching the seam with the strip below it, you're going to lay the selvage strip right side UP and overlap the finished edge with the strip below it. 


Now sew down the strip as close to the edge as you can get.  In the picture below my needle is approximately 1/8th inch (or possible even less) from the edge of the finished selvage edge.
  

Once you've sewn down the selvage edge, just continue your block following the tutorial above!

Thursday, October 24, 2013

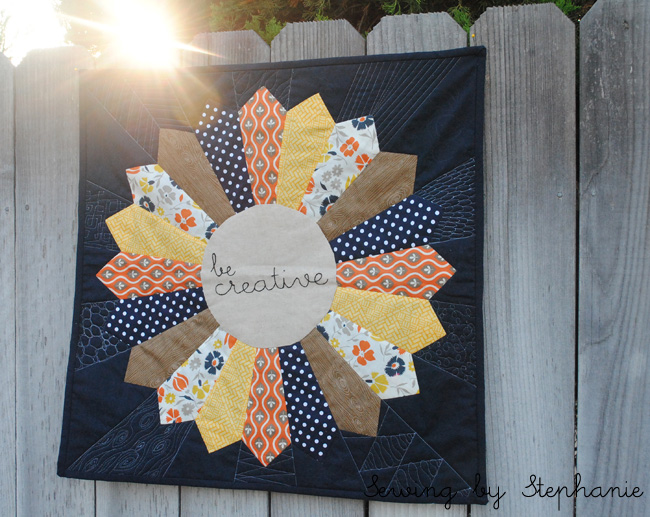
"Be Creative" Mini Quilt + Blogger's Quilt Festival

I only have this one photo of this little beauty for now, but I thought I'd share anyway.

"Be Creative" Dresden Mini Quilt

This little mini quilt has been over a year in the making.  I was inspired by this quilt by Bijou Lovely (hey, she told me to be inspired).

I tried to "Be Creative" with the quilting on this one.  I used superfine 100wt silver thread from invisafil for the quilting, which is a combination of free-motion and straight line.  Each design is different, and while I used some designs I've repeated often I tried a few new ones as well.  That woodgrain quilting is my first ever attempt.

While the mini quilt might not be perfect, it makes me happy having it hanging on the wall above my computer.

Quilt Stats:
Pattern: Dresden plate, inspired by this quilt by Bijou Lovely
Fabrics: Various prints from my stash, Essex linen in Natural, Kona Indigo
Quilted: By me on my home machine with 100wt invisafil thread in silver
Dimensions: 24" x 24"
Completed: October 2013

And hey, why not?  I'm entering this little quilt in the mini quilt category of the Fall 2013 Blogger's Quilt Festival.

AmysCreativeSide

Saturday, September 14, 2013

Almost finished up...

Almost done with the quilting on this one.  I just need to quilt the border and then add the binding.


It will have to wait though until after my husband and I take the baby to the park.

I love Saturdays.

Friday, November 9, 2012

PT{S}9

The Pillow Talk {Swap} Round 9 is finishing up this week and this time around I was able to take part.

My secret partner says she loves the look of linen and text, with a splash of color.  She also hinted that something in reds would look nice in her house, and that a rectangular pillow for her bed would be appreciated.  I changed the plan for this pillow over and over again in my mind, and this is what I ended up with.

Pillow Talk Swap Round 9

Do you think she'll like it?  This was my first time working with the neutrals/ text/ linen combo and I think it comes off very "clean".  The pillow measures 12"x20" and takes a pillow form of the same size.  I didn't have a pillow form of that size to test it out on so instead I took these pictures after stuffing the pillow with fiberfill.  I used Kona solids that I got in the I <3 Kona charm swap at Pile O' Fabric I participated in a while ago for the applique.  It was nice to have so many color options in small sizes so I didn't have to run out and buy fabric.  It was especially nice to not have to buy Kona since I had to go out and but all the neutrals, the text prints, and the linen specifically for this pillow.

Pillow Talk Swap Round 9

I don't know if you can see it very well but I used tiny buttons for the door knobs on the houses.  Three "door knobs" are red and the fourth one is green.  I thought it added a nice little bit of color in there.

Pillow Talk Swap Round 9: Back of Pillow

I had had plans to add a beautiful thick Ruby Kona piping around the edge of the pillow but when it came down to it my sewing machine wouldn't cooperate so it didn't work out.  I just couldn't get my presser foot close enough to the piping to get a tight fit, and it looked pretty dreadful loose, so I took it out.  This was also my first time doing "quilt as you go" and I have to say I really liked it. 

Pillow Talk Swap Round 9: Back of Pillow

BTW, if anyone is looking for a good source for text prints I bought mine from Sew Me a Song on Etsy.  Her prices were very reasonable and she had quite a few FQ bundles all made up already that you can choose from, and she was kind enough to let me swap out some of the prints in the bundle for prints from a different bundle.

name for blog

Tuesday, October 9, 2012

Finished Tree Skirt

I thought I'd take a quick break from feverishly finishing up stuff for Sewing Summit to show you a finish from a few weeks ago.

Some regular followers of mine might remember the Christmas tree skirt and tablerunners that I had on my WIP list a few weeks ago.  Well, I haven't made much progress on the tablerunners but I quilted and bound the skirt!

Basting Christmas Tree Skirt
Laid out and ready to be basted

Christmas Tree Skirt with Dog Accessory
Why you never turn your back on a quilt when you're basting on the floor

I free motion quilted the skirt in a pebble design and bound it with a Santa's Workshop by Riley Blake Designs print in red and white.  I love it so much, I can't wait until after Thanksgiving when I can pull out the Christmas tree (we use a fake tree, not a real one) and see how the skirt looks on the tree.  For now though I just have to admire the way it looks by itself.

Finished Christmas Tree Skirt
Pebble quilted and bound!

I'll try to get some better pictures of the skirt once I get the tablerunners finished, but for now I have to get back to sewing for Sewing Summit!  Only two days left!

name for blog

Friday, August 17, 2012

Juggling Summer Table Runner for Mom

August 15th is my mom's birthday and every year I like to make her birthday gift.  She just received the package and opened it so now I can finally post about it!

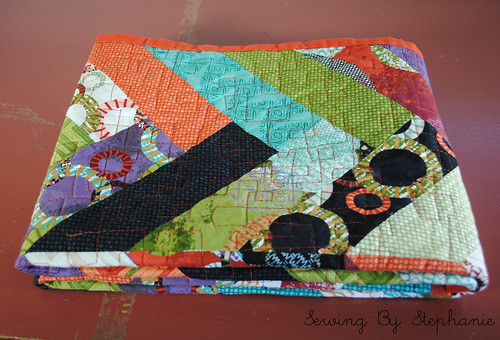
This year I saw this project by Bari J and I loved the pieced pattern and thought it would be perfect for a project for my mom.  I sent my mom a bunch of photos of fabric collections (at least 24 different ones) and had her pick which line was her favorite.  She picked Juggling Summer by Zen Chic for Moda and when the jelly roll arrived I knew it was perfect for my mom.  The colors and prints in the collection are beautiful, and the main fabric of the collection has this yummy red/orange color that is exactly my mom's color.

Folded Juggling Summer Tablerunner

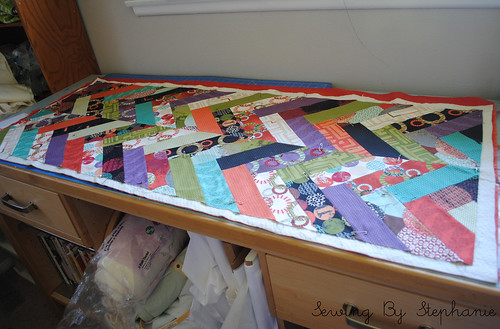
I had a lot of fun making the table runner.  I lucked out and noticed on the blog post by Bari J that someone mentioned that you can use a quilter's binding tool as a template to make the friendship braid instead of having to measure and cut the angles.  (You can see a video demo here).  I happen to have a quilter's binding tool so that made the process smooth and easy.  I'm not sure how many I cut, but I definitely didn't use the whole jelly roll.  In actuality I probably only used 1/2 of the jelly roll.

Juggling Summer Tablerunner in Progress

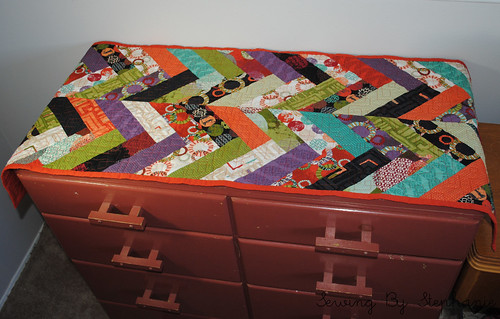
For the backing of the table runner I bought 1 1/2 yards of Moda Bella Solid in Betty Orange (which coordinated exactly with the collection- thanks Moda!).  The orange also happens to be the yummy red/orange color that I mentioned is my mom's color, so it worked out perfectly.

Juggling Summer Tablerunner

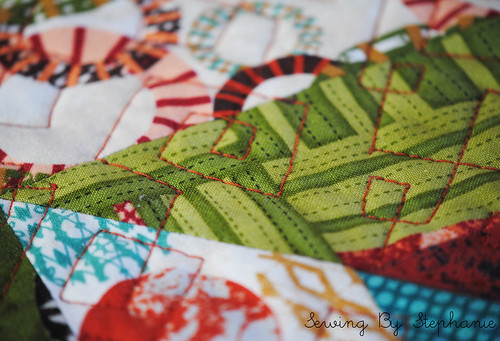
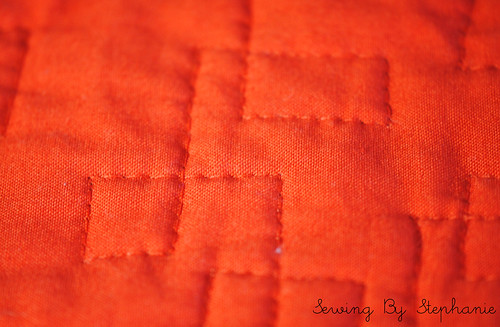
I free-motion quilted it using the "geometric allover" pattern as described by Angela Walters in her book "Free-Motion Quilting with Angela Walters" (which I am LOVING by the way).  It was simple and I was able to get into the flow of doing it relatively easily.

Detail of Quilting on Juggling Summer Tablerunner

Detail of Quilting on back of Juggling Summer Tablerunner

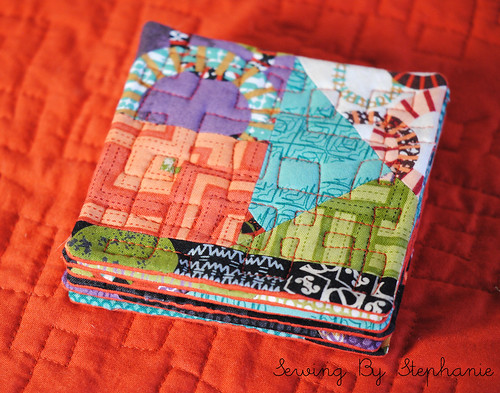
As a bonus gift I also made a set of 6 coasters to go with the runner.  I used some of the scraps from the table runner and the Betty Orange for the back of these.  Since I didn't want to fuss with binding I made these by sewing the top and bottom of the coasters right sides together with a layer of batting on the bottom of the stack (so it went batting, coaster bottom RSU, coaster top WSU) and then turned them right sides out and hand stitched the opening closed.

Juggling Summer Coasters

For the quilting on the coasters I did the same "geometric allover" pattern on them and loved the way they turned out.

Juggling Summer Coasters

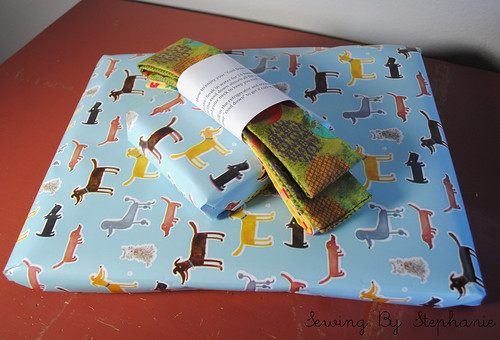
I also made my mom a set of "Cool Downs" for her to use in the hot Tennessee sun.  One with two of the leftover strips from the jelly roll and one in the same gnome print I used in the tutorial.  "Cool Downs' are new to her so I hope she enjoys using them!

Wrapped and ready to go!
Related Posts Plugin for WordPress, Blogger...