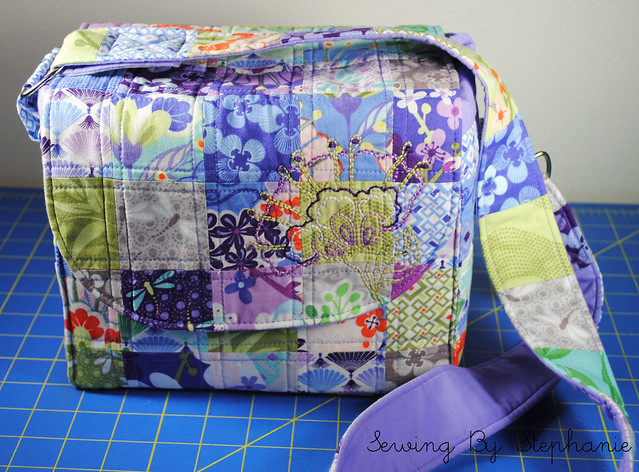
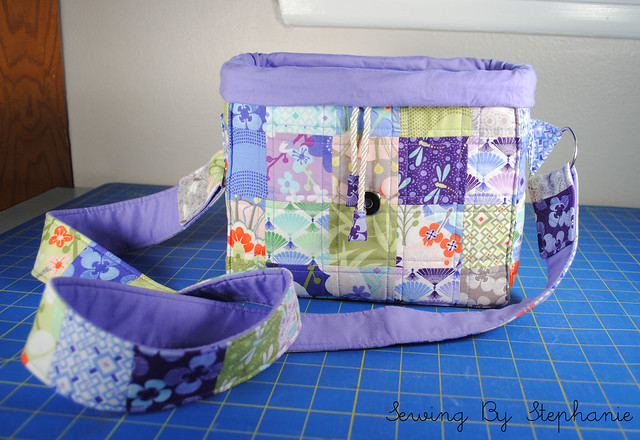
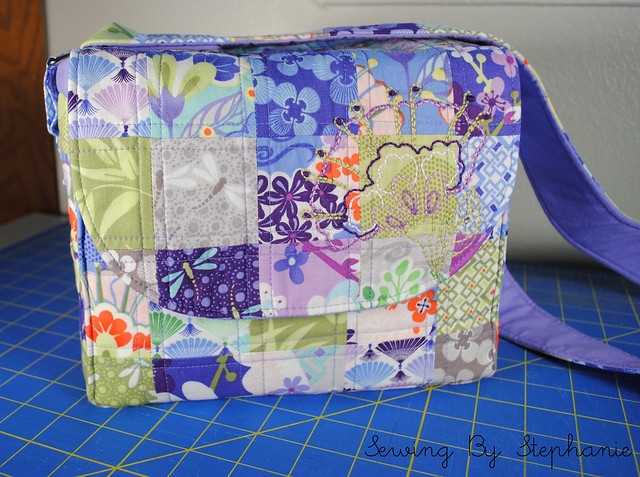
Happy Tuesday everyone! Here it is, the big reveal of my most recent "big project".
For my aunt's birthday she requested that I make her a camera bag. I of course thought, "Hey, no problem, I've already made
this camera bag, I'll just make one for her using the same pattern. Easy-peasey"... WRONG.
The problem was that my aunt wanted a bag big enough for both her large DSLR and an extra lens, and the largest size in the
pattern from Michelle Patterns that I used to make my padded camera pouch is nowhere near big enough to hold her camera let alone the extra lens. Okay, I had to scrap the idea to use the pattern... instead I decided to make my own.
For years before I became a serious sewist I made up all of my own bag patterns, and believe me, they were functional but not pretty. Over the last few years though since I've been serious about my sewing I've picked up lots of new tricks and I wanted to use them to make this camera bag.
Here was the check list of features I wanted the bag to include:
-lots of padding
-structured
-zippered pocket for phone/wallet
-side pocket
-top flap
-adjustable strap
-divided interior
I actually managed to get all of the things on my checklist done except for the adjustable strap. I couldn't find any hardware locally for the strap so instead I just made it a fixed length.
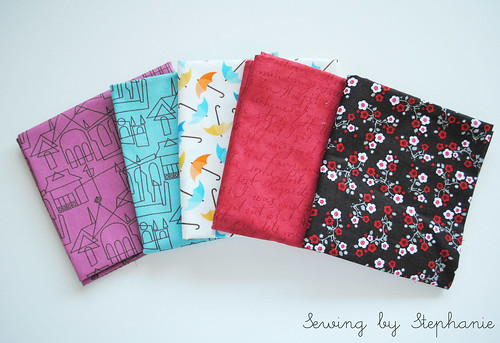
For fabric I went with a line I knew she would love,
Good Fortune by Kate Spain, which I had a charm pack of as well as some fat eighths I bought from
Bloomerie Fabrics. For the lining I used a solid purple that I had laying around.
I cut each charm in quarters and then arranged them to make a patchwork exterior. I kept the quilting very simple and just straight-line quilted 1/4 inch from each seam on the patchwork. For the bottom I faked the patchwork quilting since I used a solid piece of fabric for the base instead of making it patchwork.
 |
| Base of Bag |
To make my bag both super padded and structured I used two different Pellon products: Pellon 71F ultra firm stabilizer and Pellon thermolam plus. I actually used three layers of the thermolam to get all the padding I wanted, and one layer of the ultra firm stabilizer between the thermolam layers to add stiffness. I thought it might be too much for my sewing machine needle to get through but it sewed through all the layers like a champ.
To make the bag a little more special I did a little embroidery in the flap. I used one of the prints from Good Fortune as inspiration and drafted my own pattern on the flap and then embroidered it using perle cottons. It's kind of hard to see in the pictures since the patchwork background is so busy but I think it adds a graceful touch to the bag.
 |
| Detail of Embroidery on Bag |
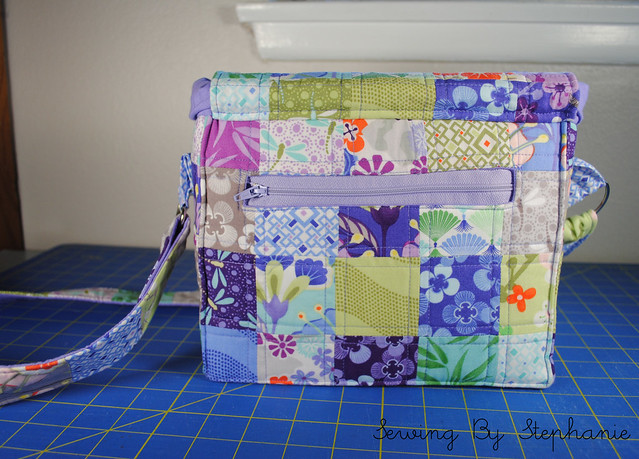 |
| Zippered Pocket |
On the back of the bag I put in a zippered pocket. I actually made a mistake putting it in and cut the hole for the zipper too wide, so in the end I had to struggle to get the zipper secure since it was almost too narrow for the hole I made for it.
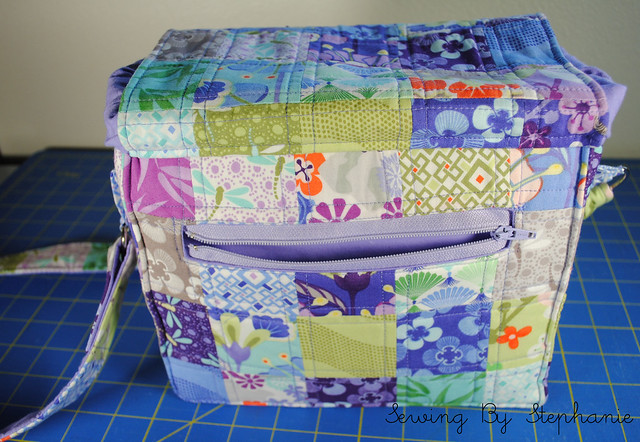 |
| Open Zippered POcket |
To add to the security of the camera bag in addition to having a flap I also made a drawstring closure to keep the camera in the bag. I used a technique very sililar to the one described by Michelle in her
padded camera pouch pattern but altered to fit the dimensions of my bag.
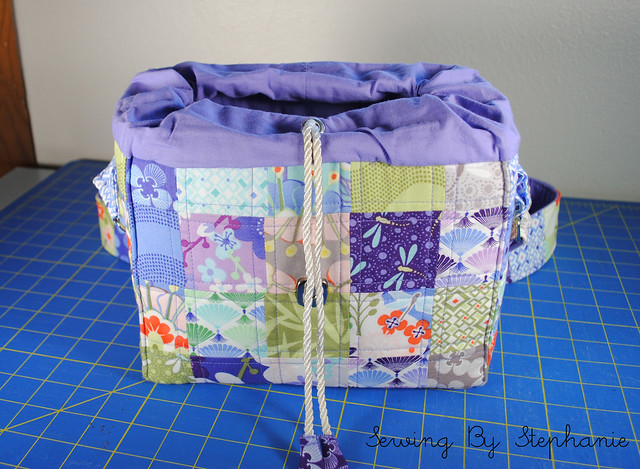 |
| Drawstring Closure |
I also added fabric to the end of the drawstring for a little extra decoration and also to hide the knots at the ends of the rope.
The side pocket is also the perfect size to hold a lens cap or possibly even a map or phone.
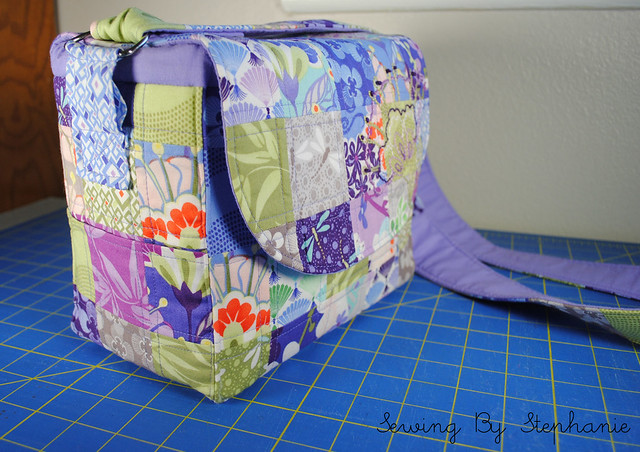 |
| Side Pocket |
And last but not least the inside! I made a padded divider to go inside the camera bag so that the camera and the extra lens don't bump into each other when they're in the bag. I had to take this phot with my small point and shoot because as you can see in the picture, my normal camera is in the bag!
 |
| Divided Interior |
I truly, honestly, love this bag. It was pretty difficult to part with.
To be honest, I've been wanting to make a camera bag for my own DSLR + extra lens for a while now and just haven't made the plunge, so making one as a gift to kind of "test the waters" has been great. Now I just need to find the time and the perfect fabric so I can make one for myself hopefully before Sewing Summit next month **fingers crossed**.