Monday, August 27, 2012

Harry Potter Mug Rug Swap

Hi everyone!

I wanted to pop in and tell you all about a mug rug swap by friend Rebeckah is hosting on Flickr: The Harry Potter Muggle Rug Swap.

Harry Potter Mug Rug Swap

I feel like I grew up with Harry Potter.  When I started the books I was the same age as Harry, and for a little bit there they were published once a year, so I was the same age he was when they came out. Because of that I'm sure it's no surprise that I absolutely love Harry Potter.  I watch the movies in marathon format probably at least 4 times a year.  I'm also very excited for this swap.  The theme for round one is going to be either "Fall" or "a Very Potter Christmas", it's not decided yet.

I hope some of you will join in on the fun!

Check out Rebeckah's post about the swap here.

Oh, and I hope everyone loves the graphic for the swap (hint: I made it)!

edit: Lol!  Looking at this post with Google reader I see that the code for the button shows up as just a smaller button.  If you click over and view the post on my blog page then you'll be able to see it as code.  

Tuesday, August 21, 2012

I'm seeing... Aliens?

A few weeks ago a friend from church contacted me about making her and her son some costumes for an annual block party she and her husband throw to celebrate their kids' birthdays.  Every year has a different theme and this year the theme was "Cowboys and Aliens".  She already had everything for the cowboy costumes she needed but had nothing for the alien costumes except for some fabric she bought at M&L.


 One of the fabrics she bought was an awesome lime green spandex with holographic "scales" all over it that she wanted me to use to make her son's costume.  Luckily he is a guy who LOVES to dress up and for him the tighter the fit the better the costume so it was pretty easy to sell him on head to toe spandex.  We were originally thinking "body suit" but instead went with a long sleeve top and stretch pants so that he'd be able to wear them separately if he chose to.  He had the idea that he wanted a silver breastplate on his alien costume so I had him draw up a picture for me.

Since I didn't have a pattern to use I decided to make one from some clothes he already had that we already knew fit him.  I used a pair of his pj's and laid them out on a large sheet of paper I had to make the pattern pieces.  Since the spandex wasn't as stretchy as the knit of his pj's I took that into consideration and added a little extra fabric to the sides along with 1/4 inch for the seams.

They came together super quickly using my serger (though they did leave the inside of my serger a big green mess).


My friend wanted a matching skirt so I made a basic tube skirt for her out of the same fabric.


He had the idea that he wanted a silver breastplate on his alien costume so I had him draw up a picture for me.  Using some silver lamé and batting I whipped up the breastplate for him and quilted it a bit to add texture, then I hand stitched it onto the shirt with a long stitch so mom could easily remove it if she wanted.

I also made some long capes for both of them out of a material I called "liquid metal", but really it was just a silver reflective-looking spandex.  Since I didn't want to add any weight to the capes and since the spandex won't fray I didn't hem the sides or bottom, I just made sure to cut them really smoothly. 


The party was Sunday and it was so much fun.  They had a permit from the city so they were able to block off the street for extra room.  There were probably close to 125 people there and almost everyone was in costume.  At one point in the evening my friend rolled out bubble wrap on the street and all the kids had a "bubble wrap dance party" on top of it.  It was a lot of fun to see all the kids hopping around on top of the bubble wrap.

Bubble Wrap Dance Party
The kids were dressed in a lot of cool costumes.  There were a lot of cowboys, and a lot of aliens, and there were even some alien cowboys as well as recognizable aliens such as Superman and Transformers.  There was even a Dr. Who.

Can you spot Dr. Who?
My Cowboy!

Friday, August 17, 2012

Juggling Summer Table Runner for Mom

August 15th is my mom's birthday and every year I like to make her birthday gift.  She just received the package and opened it so now I can finally post about it!

This year I saw this project by Bari J and I loved the pieced pattern and thought it would be perfect for a project for my mom.  I sent my mom a bunch of photos of fabric collections (at least 24 different ones) and had her pick which line was her favorite.  She picked Juggling Summer by Zen Chic for Moda and when the jelly roll arrived I knew it was perfect for my mom.  The colors and prints in the collection are beautiful, and the main fabric of the collection has this yummy red/orange color that is exactly my mom's color.

Folded Juggling Summer Tablerunner

I had a lot of fun making the table runner.  I lucked out and noticed on the blog post by Bari J that someone mentioned that you can use a quilter's binding tool as a template to make the friendship braid instead of having to measure and cut the angles.  (You can see a video demo here).  I happen to have a quilter's binding tool so that made the process smooth and easy.  I'm not sure how many I cut, but I definitely didn't use the whole jelly roll.  In actuality I probably only used 1/2 of the jelly roll.

Juggling Summer Tablerunner in Progress

For the backing of the table runner I bought 1 1/2 yards of Moda Bella Solid in Betty Orange (which coordinated exactly with the collection- thanks Moda!).  The orange also happens to be the yummy red/orange color that I mentioned is my mom's color, so it worked out perfectly.

Juggling Summer Tablerunner

I free-motion quilted it using the "geometric allover" pattern as described by Angela Walters in her book "Free-Motion Quilting with Angela Walters" (which I am LOVING by the way).  It was simple and I was able to get into the flow of doing it relatively easily.

Detail of Quilting on Juggling Summer Tablerunner

Detail of Quilting on back of Juggling Summer Tablerunner

As a bonus gift I also made a set of 6 coasters to go with the runner.  I used some of the scraps from the table runner and the Betty Orange for the back of these.  Since I didn't want to fuss with binding I made these by sewing the top and bottom of the coasters right sides together with a layer of batting on the bottom of the stack (so it went batting, coaster bottom RSU, coaster top WSU) and then turned them right sides out and hand stitched the opening closed.

Juggling Summer Coasters

For the quilting on the coasters I did the same "geometric allover" pattern on them and loved the way they turned out.

Juggling Summer Coasters

I also made my mom a set of "Cool Downs" for her to use in the hot Tennessee sun.  One with two of the leftover strips from the jelly roll and one in the same gnome print I used in the tutorial.  "Cool Downs' are new to her so I hope she enjoys using them!

Wrapped and ready to go!

Thursday, August 16, 2012

Modern Scrappy Bits Swap

In early July I signed up for a fun swap on Flickr: The Modern Scrappy Bits Swap.  It's a simple swap (the best kind), we're swapping a handful of scraps (technically a minimum of a 1/4 yard's worth) and a small handmade item made using scraps.  I got my partner a little over a week ago and today I set to pulling scraps and making her a handmade item.

Scrap Stack
Scraps for Scrappy Bits Swap
My partner wanted either a pin cushion or a small wallet, and having never made a pin cushion I opted to make a pin cushion.  The only specifications I got from my partner was that she likes bright colors with high contrast and that she doesn't like brown.

Scrappy Pin Cushion
Pin Cushion for Scrappy Bits Swap
For the pin cushion I went with a simple design.  Basically this is made by sewing two circles of fabric together, turning right side out, stuffing with polyfil, and sewing shut.  Then I used some embroidery thread to force the pin cushion into it's finished shape.  Easy-peasey.  I hope she likes all the goodies I'll be sending her way.

Scrap Stack + Pin Cushion
Scraps + Pin Cushion for Scrappy Bits Swap

Washi Time!

Yesterday my husband left the house to go meet up with coworkers for happy hour and I decided to use the time to finally cut into some of my DS Collection yardage to make myself a Washi dress.  Fast forward to 11:30 PM and I had made myself not one but two Washi dresses!!!

Washi Dress


The pattern is super easy to cut out (there are only 6 pieces) and Rae's instructions are so straightforward that even a beginner would have no problems mastering this pattern.

Front of Washi Dress

I was lucky in that I didn't have to make any alterations to the pattern.  I made mine in XL and it fit my bust perfectly.

Cut-out detail of Washi Dress

After making the dress in the DS Collection print I was so happy that I decided to cut into some Robert Kaufman "London Calling" cotton lawn that I bought to make a Tova top.  Luckily for me I had just the right amount of yardage.

Washi Dress

While the DS Collection print is heavier this one is light and breezy.  Perfect on a warm summer's day.
Back of Washi Dress
I can't wait to wear these out.

Detail of Pleating

One thing I would have changed while making these dresses is that I wish I had purchased a better elastic thread.  I just used the stuff I picked up at Joann's and I feel like it's not very strong.  It worked fine on the lighter lawn fabric but I feel like over time it might wear out with the heavier cotton fabric.  Oh well, I guess only time will tell.

Detail of Shirring

Oh, and I guess I did skip a step while making the pattern.  Rae says to use bias tape around the armholes to give it a finished look.  Instead I used my serger around the armhole and then folded it under and topstitched.  I doubt anyone will ever see the difference since it will only show under my arm.

I feel so inspired now!  I think I might have to make myself a few tunics with the pattern as well!

What about you?  What are you making right now?

Wednesday, August 15, 2012

It's time!

Time for a new dress that is!


As soon as I saw Rae's Washi Dress I knew I wanted one for myself, and last week when the pattern finally went on sale I snatched it up.  Well, I've made my muslin and tested the fit and now I'm ready to dive in and cut into some of my DS Collection fabric.

Hopefully I'll have pictures of the finished product to share with all of you soon!

Tuesday, August 14, 2012

James' Doll

I just finished up a custom order doll for a friend's little boy.  I think he's really cute.  This will be James' new "little brother" until his real new little brother arrives in September.

James' Doll

The doll is made out of natural-colored linen and his face was hand embroidered by me.  His hair is made from a thick yellow yarn that I looped and sewed onto his head by hand.  His overalls are dark blue corduroy and his shirt is made from an upcycled toddlers tee-shirt.

Thursday, August 9, 2012

Let's Get Acquainted Blog Hop!

Hi and welcome to Sewing By Stephanie! Whether you're just stopping by as a part of the Let's Get Acquainted blog hop or are a regular follower I'm happy you're here. 

Plum and June

For those of you who don't already know me I'm Stephanie and I've been blogging as Sewing By Stephanie for a little over a year.  I started this blog in March 2011 thinking that it would be a fun way to share my finishes with friends and family but as I blogged more and more I discovered that there is a whole world of other quilty bloggers out there who share the same passions I do, so now I blog as a way to connect with other quilters online. 

With that said, I think it's time we got acquainted! 

How long have you been quilting?
I've been sewing since I was 6 but only got into quilting after I graduated college, so for a little over 3 years now.
Quilt for Harriet
Harriet's Quilt.
Favorite quilting tip(s)
The #1 tip I have for beginning quilters is to be precise with your measurements and your seams.  You'll save yourself a ton on time later on if you're precise to begin with. 

Little Leaves quilt detail
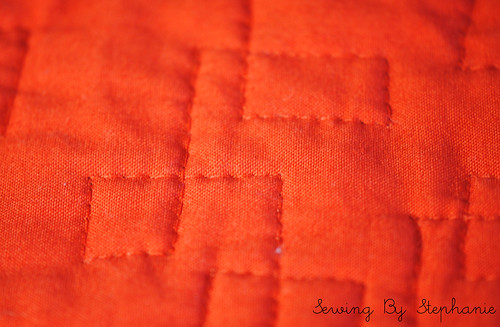
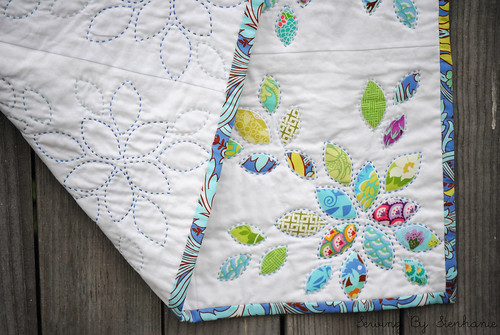
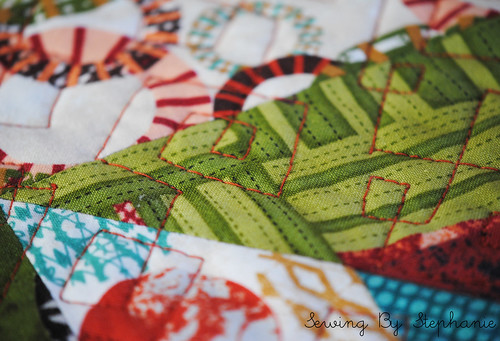
Little Leaves Hand Quilting (this quilt won "Favorite Hand Quilted Quilt" in the 2012 Blogger's Quilt Festival)
Favorite blogging tip(s)
Use Flickr!  I host (almost) all of my photos on my blog through Flickr and I love it.  There are so many great swaps and QALs hosted through Flickr that you're really missing out if you don't have an account.

Padded Camera Pouch and Little Wallet
Padded Camera Pouch & Wallet.
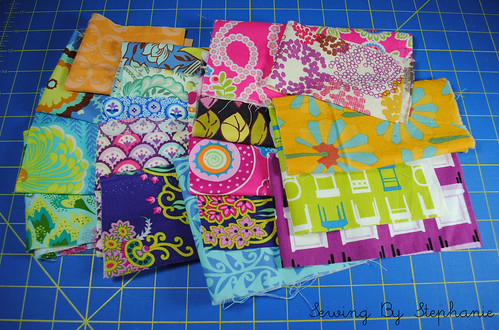
Favorite fabric (or wish list fabric)
I'm currently dying to get my hands on some Out to Sea by Sarah Jane Studios.  It's so whimsical and fresh, I love it.  Also, as a general rule I love any fabric with either gnomes or dachshunds on it.

Olive's Quilt
Olive's quilt.
Favorite craft book
One of my favorite bloggers when I got started was Alicia Paulsen of Posie Gets Cozy and her book  Embroidery Companion is one of my favorites.  As far as quilting books go though my first and favorite is The Practical Guide to Patchwork by Elizabeth Hartman.
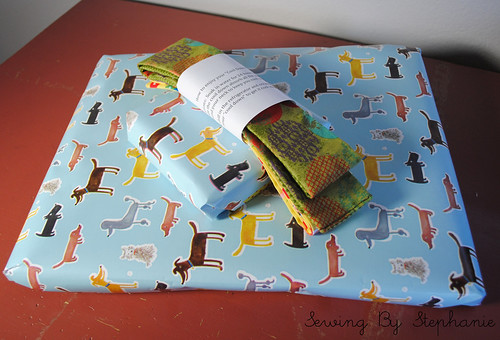
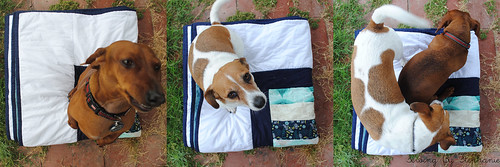
Dogs on Stacked Coins Quilt
Dogs on quilt.
Favorite book (or book you are currently reading)
I have a deep love for books so picking one "favorite" is impossible.  I'm currently reading A Dance with Dragons (book 5 of Game of Thrones) and I'm really enjoying it.  Some authors I enjoy include Sarah Addison Allen, Deborah Harkness, Julie Garwood, Terry Goodkind, and Kathleen Woodiwiss

4th of July Table runner
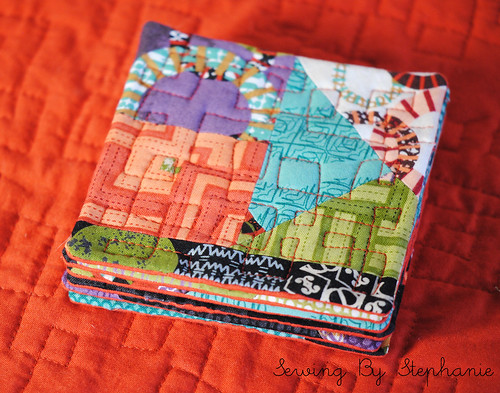
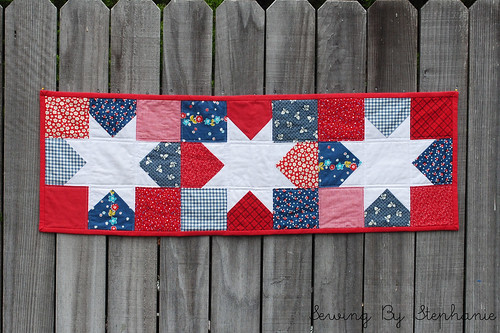
Reversible Tablerunner.
Favorite children's book  
This one's an easy answer.  My favorite by far is Pickle-Chiffon Pie by Jolly Roger Bradfield.  It's my sister's favorite as well and we fought over which of us would get to keep the original we had in our childhood.  She won and got to keep it, but luckily it's back in print so I have a copy for myself as well. 

Justin's Quilt
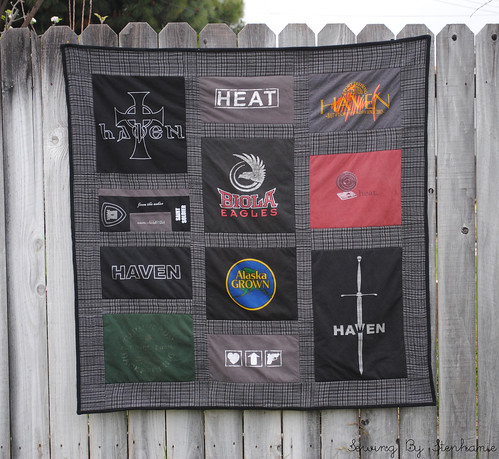
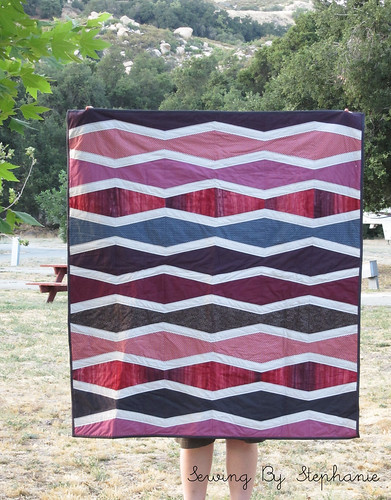
Manly T-shirt quilt.
Favorite quilting tool
Either my mega mat, my huge ruler, or my rotary cutter.  I pretty much can't do anything without all of them!

Wonky stars quilt
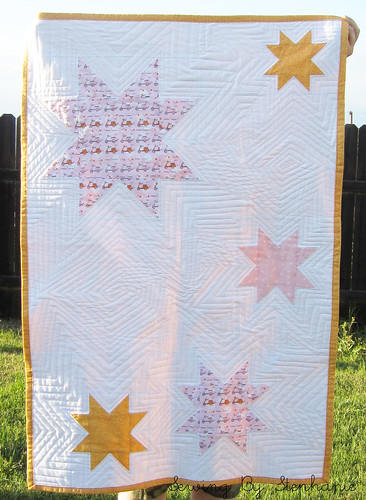
Wonky Stars baby quilt.
Favorite music to listen to while quilting
I listen to Pandora a lot while working on my machine.  Currently I have it on a country station I made. 
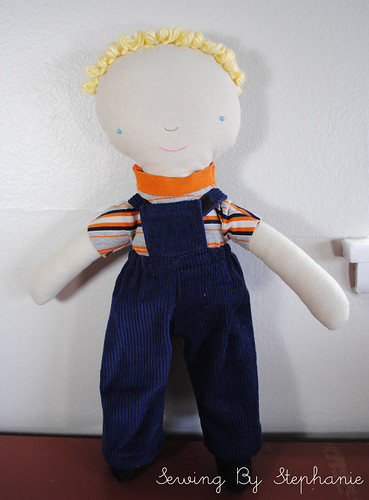
The gang
Custom Dolls
Favorite TV show while hand stitching
I love historical pieces, but I watch pretty much anything.  Recently I've been watching Doc Martin and Misfits.

Back of Onesie
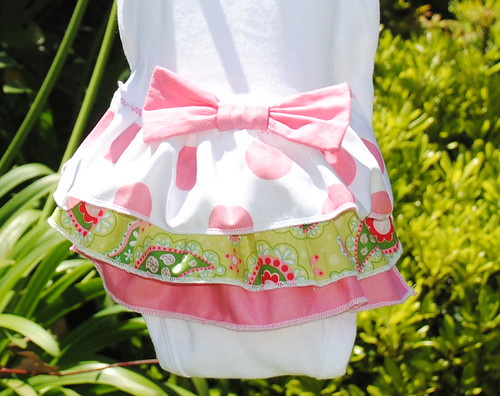
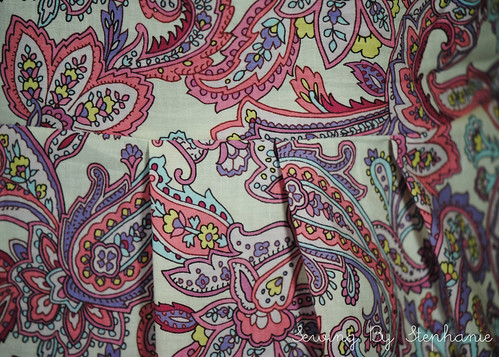
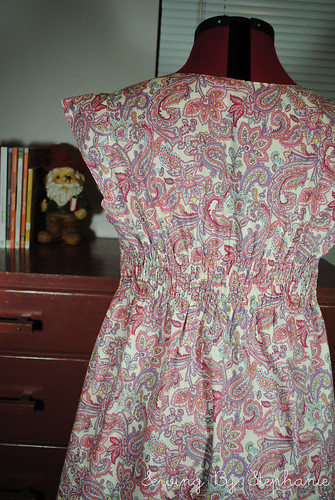
Back of ruffle onesie
Binding - by hand or by machine?
By machine to the front of the quilt and then by hand to finish.  I use the hand binding time to kind of wind-down from making the quilt.  It's so relaxing to sit and sew by hand knowing that the quilt I've been slaving over is almost done.

Tree Quilt
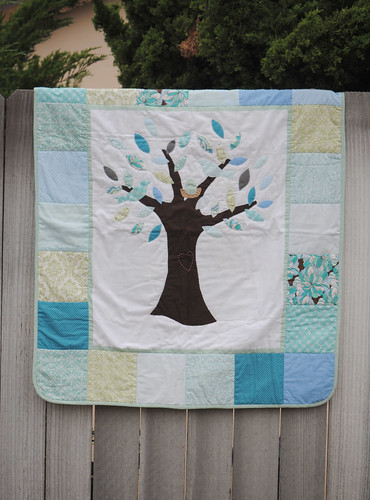
Tree applique quilt I made a friend's little girl.
If I'd only known - what you wish you knew about blogging before you started your blog
I don't really know what to say here.  I feel as though I'm still figuring all of this out.

Okay, enough with the introductions.  Let's get to the tutorial!

I don't know what the weather is like where everyone else is but where I am it's in the 90's, so today I have a quick tutorial on how to make a cool down for your neck.  I'm sure there are other tutorials out there on how to make these since this isn't my original design, but I wasn't able to locate one when I went looking so I thought it might be a good thing to write up a quick tutorial for.


For this you need a few simple ingredients:
-A piece of fabric 36 1/2" long by 4" wide ( I used my favorite Gnoming Around print, it has both gnomes AND dachshunds!)
-A water soluble pen
-A sewing machine
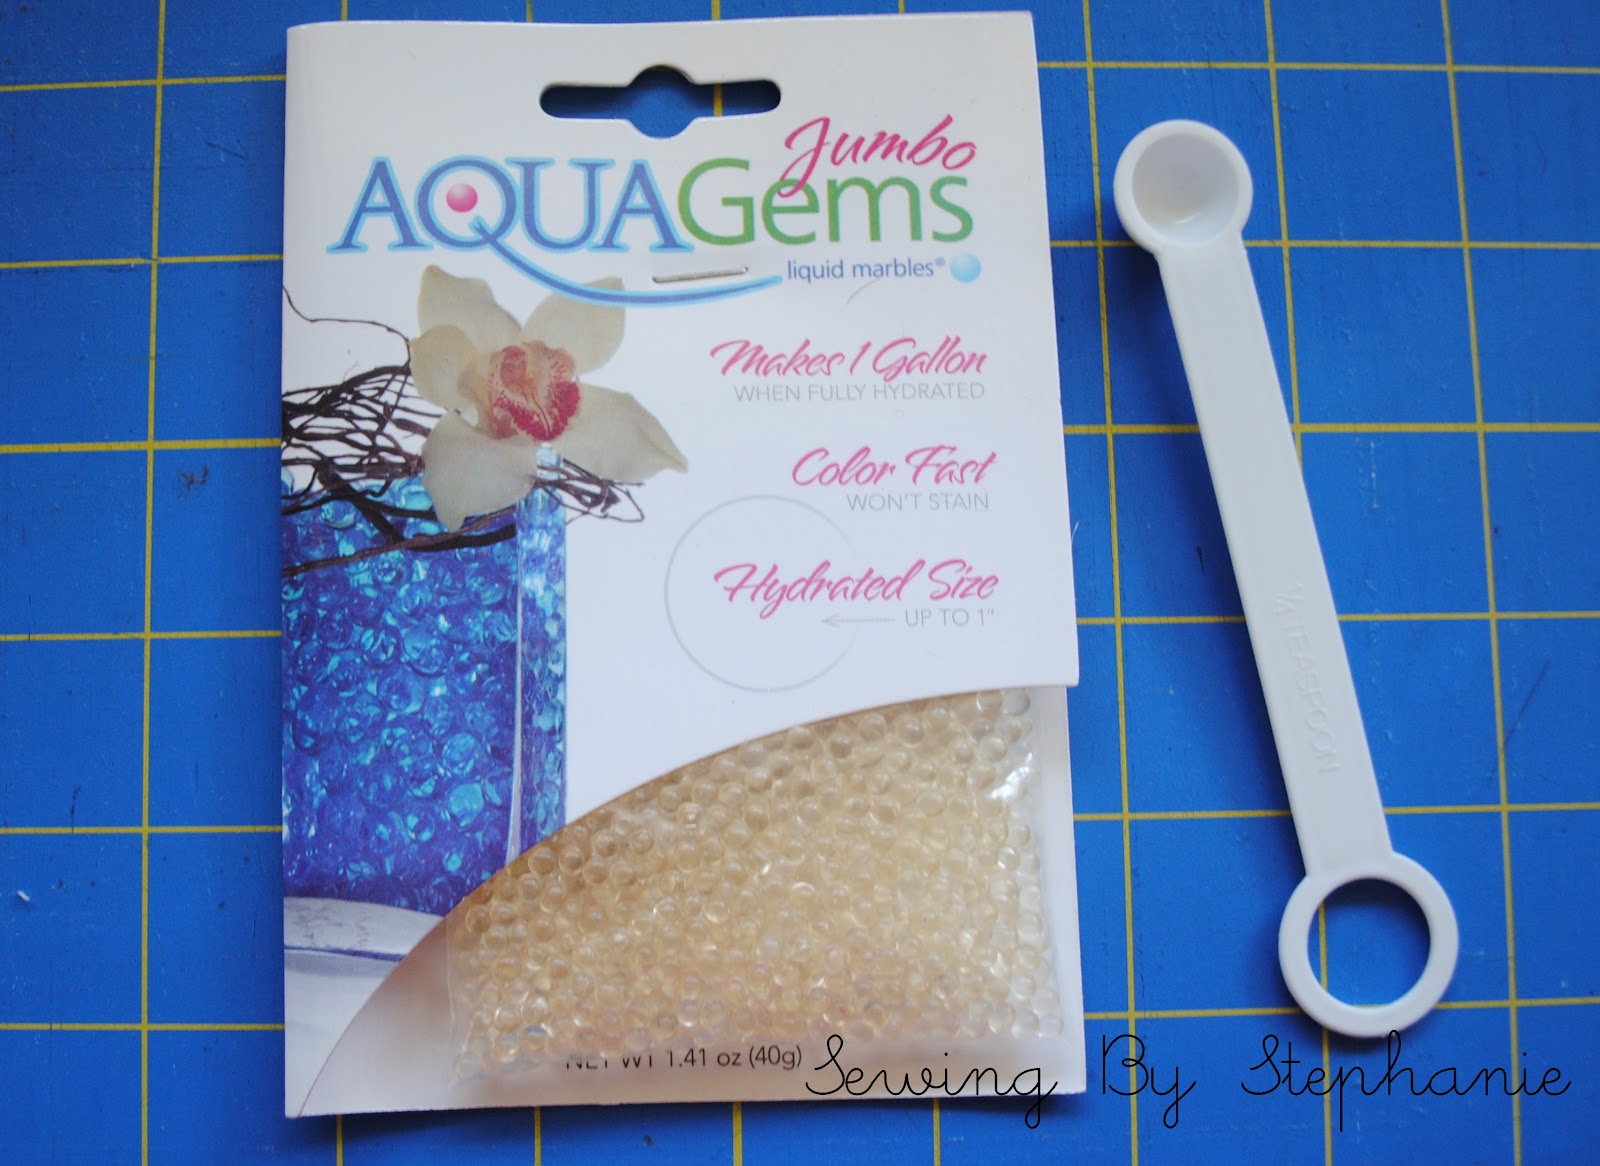
-Jumbo aqua gems (I bought mine in the floral section at Joanns for about $4)
Optional: a 12-16" length of PVC pipe (I used one of the sides of my lap quilting frame)


Step 1: Cut your fabric to the desired size of 36 1/2 " by 4" wide.  Fold fabric along the long edge with right sides together and sew down the long side and along one edge keeping a 1/4" seam allowance.  Turn right side out and press.

Sew closed long side and one end.
Turn and press.
Step 2: Using a water soluble pen mark lines along the length of your tube every 6 inches, separating your tube into 6 sections. With your sewing machine stitch along the line you just drew that is closest to the end of the tube that is sewn shut, effectively closing off the section.

Mark lines on the outside of the tube every 6 inches
Step 3: Measure out 1/4 teaspoon of your jumbo aqua gems.  Using your length of pipe as a guide, put your aqua gems into the tube (if you're not using a length of pipe you can just put your aqua gems straight into the tube, just jiggle it to make sure that all the gems make it down into the bottom of the tube.)  Using your machine sew along the next line, making sure to inclose all aqua gems in the section.

Measure out 1/4 teaspoon of aqua gems
Insert the pipe into the tube and use it to guide aqua gems into the tube.
Step 4:  Repeat for the next three sections.  When you are done you should have 4 sections that each have 1/4 teaspoon aqua gems in them.  The two sections on the outside should have no aqua gems in them.  Close off the last side of your tube by turning the fabric in 1/4" and sewing shut.

Turn the end in and sew shut.
All Sewn!
Step 5: Soak your cool down in water overnight until the gems are fully expanded.  When you're done you'll have a nice easy way to stay cool in the summer heat! 

Soak!

20 hours later and ready to go!
I have 4 that I've been using and I love them.  I took them camping with me and whenever we got a little hot I just threw them in the ice chest and they got nice and icy cold for us.  Whenever it gets a little dry you can roll it on your neck or if you need to you can re-soak it and it will get full again.  Also, when the summer is over and you no longer need it you can lay it out and let it dry and the beads will go back to their original size so you can store it until you need it again.  I should warn you though that you cannot freeze them.  If you freeze them the aqua gels will burst and will no longer soak up water (so once they dry out, they're done).

I hope you all enjoyed this quick tutorial!  And I hope you come back again soon!!!

Don't forget to go and check out the other featured blogger for today, Kirsten from Gemini Stitches

And be sure to check out Tuesday's featured bloggers, Sarah from Sarah Sews Quilting Blog and January from Sew Sew Go.


p.s.  I plan on posting more pics of my gnome cool down once it's fully soaked up all it's water, but that will have to wait for the morning!

Edit: I added the pictures of the finished cool down!  Hope you enjoyed the tutorial! 

Edit: I made a pdf file that details how to use and enjoy a cool down if you want to make one of these as a gift for someone.  You can find the pdf here.

Related Posts Plugin for WordPress, Blogger...