Showing posts with label bags. Show all posts

Monday, October 22, 2012

Mouthy Stitches 2 Tote

A couple of months ago I signed up for the Mouthy Stitches 2 swap and today I mailed off the tote I made for my secret partner.

Mouthy Stitches 2

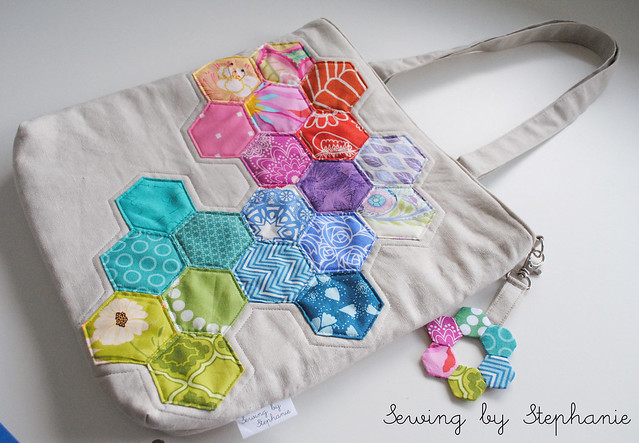
Her inspiration mosaic had a lot of brightly-colored hexagons laid out in interesting combinations, so I decided it was time for me to do some hexies.  The layout for my hexies was inspired by the colors in the hexagons themselves.  I really enjoyed playing around with the different colors and seeing which ones looked good together.  I'm quite happy with how it came out, and I hope my secret partner loves it.

Mouthy Stitches 2 Tote Front

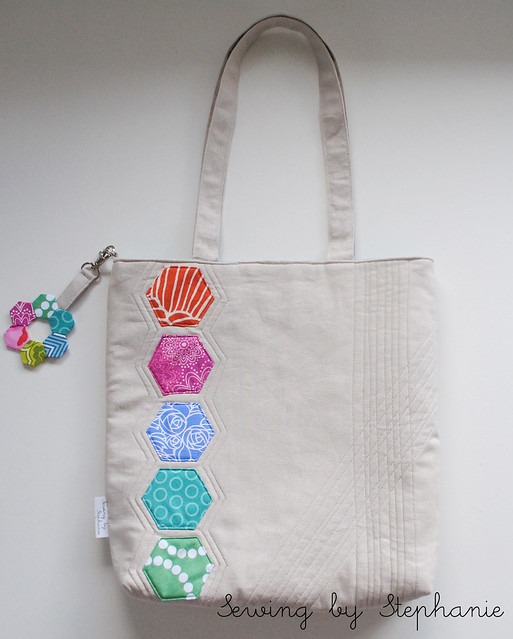
On the reverse side I played around with the quilting a bit.  Another thing I noticed about my secret partner's inspiration mosaic was that all the things she had pictured had some fun geometric-looking quilting, so I did my take on "geometric quilting" while trying to make sure it didn't get too busy.

Mouthy Stitches 2 Tote Back

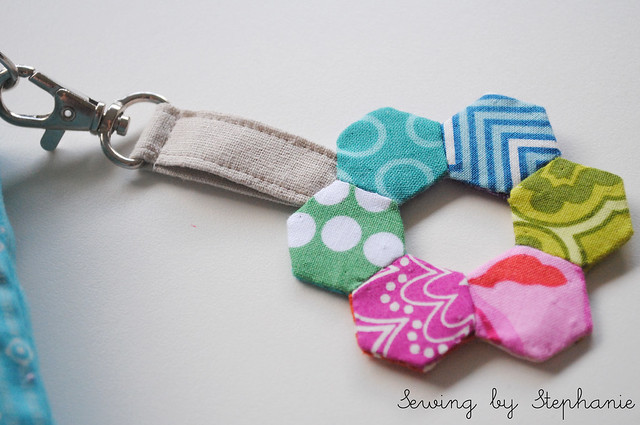
In addition to the tote, we were allowed to go crazy and make whatever kind of key fob we wanted for our partners.  I stuck with the hexie theme and made my partner a reversible hexie keyfob with  lobster clasp.  Each side of the fob is made out of 6 half-inch hexies, and each side has a rainbow of colors.

Mouthy Stitches 2 Key Fob

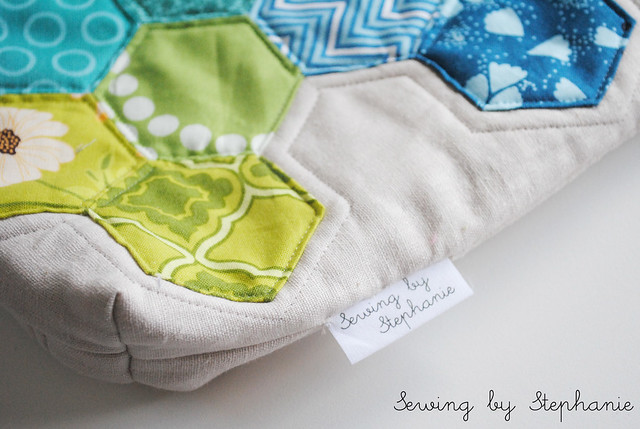
I also added one of my new tags I had made recently to the bag.  Now my partner will never be able to forget who she got the tote from.

Mouthy Stitches 2 Tote Close-up


Linking up this post with:

Sew Chatty Sew Happy Geek Plum and June Fresh Poppy Design

Wednesday, October 3, 2012

New Sewing Kit

I can't believe that it's already October 3rd!  Where did August and September go? 

In anticipation of Sewing Summit (which is only 8 days away!) I decided that I needed a way to keep all my quilty tools organized.  With hundreds of quilty people in attendance all bringing their own tools I knew that things would get lost if I didn't have some way to keep my stuff all together.

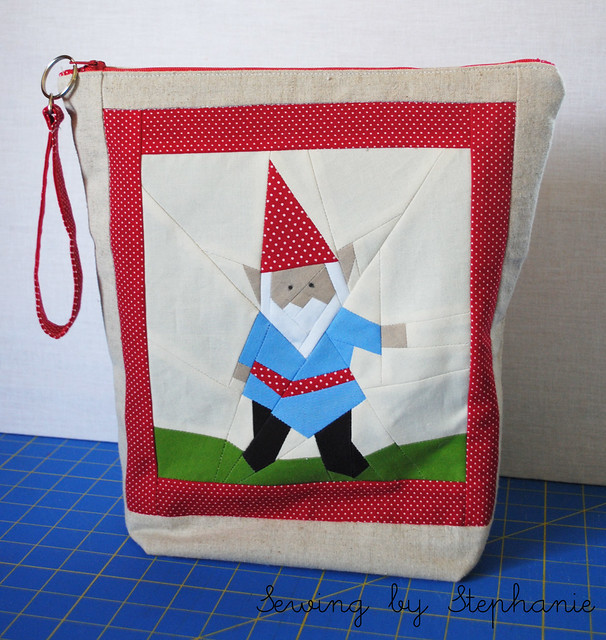
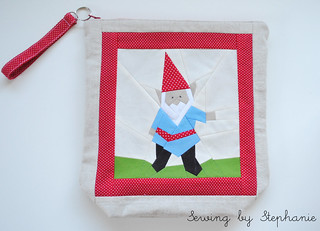
Thus came an idea to make myself a large pouch to hold everything.  Using the Perfect Zip Bags pattern from Elizabeth Hartman and a Gnome Paper Piecing pattern from Bubblestitch I whipped up this pouch to match the amazing pouch I received from Karen as part of the Modern Scrappy Bits Swap.

Gnome Pouch
Gnome Pouch
Modern Scrappy Bits Haul Pouch
Pouch From Karen

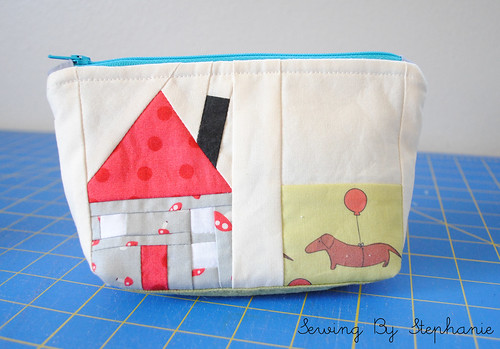
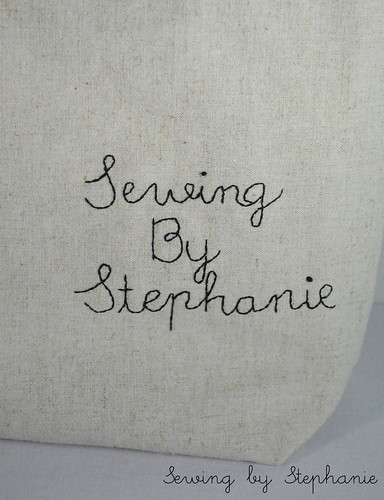
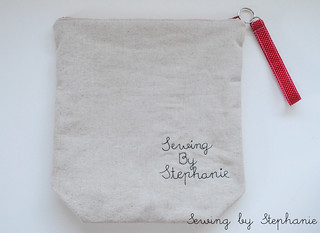
The pouch is mainly linen, but for the background of the paper piecing detail I used Kona Bone, the same fabric Karen used to make my little pouch.  I also lined the pouch with a grey dot that matches the fabric inside the wonky house pouch.  For a fun detail (and since the back was boring) I embroidered my Blog logo "Sewing By Stephanie" onto the back.

Detail of embroidery on back of Gnome Pouch
Detail of back of pouch

I made a few modifications to both patterns.  For the gnome pattern I omitted the lantern that the gnome guy usually holds and added in the grass.  For the bag pattern I made all of the dimensions larger than the pattern calls for so that I would end up with a larger bag.

Gnome Pouch
Back of Gnome Pouch with Embroidery

After making the bag I used it for a few days and then decided it wasn't enough.  Knowing myself I know that I would still manage to lose my tools while at Sewing Summit, even if I took this bag with me.  Then I saw this post by the Sometimes Crafter as part of the Sewing Summit Travel Handmade series and knew I needed to make myself something like it.

I didn't use a pattern, instead I just pulled together all the tools I knew I wanted to take with me and figured out what size I would need to make it so that it would all fit.

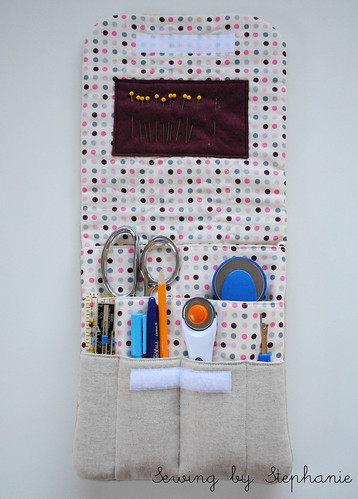
Open Sewing Kit
Open Sewing Kit

I made this out of the same linen I used for the gnome pouch, and for the lining I used one of my favorite dot prints.  There are three layers of pockets: one large one in the back, two medium ones in the middle, and four smaller ones in the front.  Each layer is padded, and you really can't see in the pictures but the back is quilted with a swirly design.

Open Sewing Kit
Open Sewing Kit

I added a velcro closure and a piece of felt on the flap to hold pins.

Closed Sewign Kit
Closed Sewing Kit

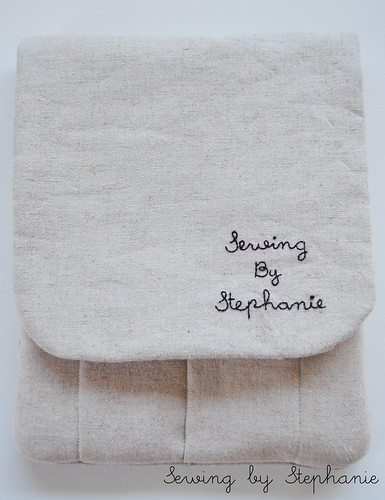
And on the outside of the flap I did a little more embroidery (you know-- just to make it match).

I still have a TON of stuff on my "to make" list before Sewing Summit next week, including:
-4 swap items for our roommate swap
-PJs
-Pouch for the pouch swap
-Luggage tag
-Name tag
-Camera Bag
-Organizer

I've been holding off on making both the camera bag and organizer because I want to make them using Pat Bravo's Rock and Romance fabric line.  The fabric was just released yesterday and I ordered it from the Fat Quarter Shop as soon as I heard.  Hopefully it'll arrive in time for me to make both the organizer and camera bag before I leave for Sewing Summit!

name for blog

Tuesday, September 11, 2012

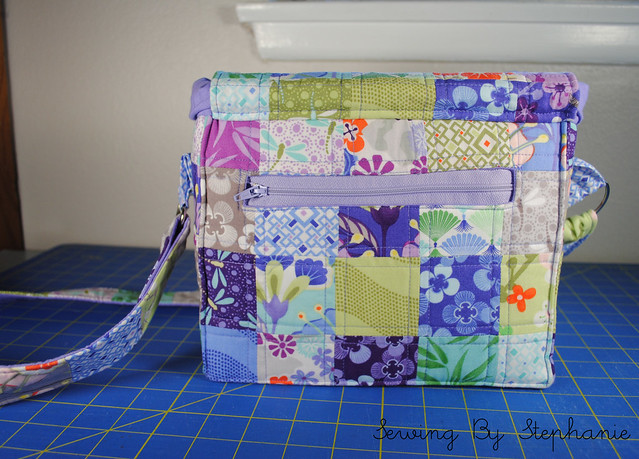
Patchwork Camera Bag

Happy Tuesday everyone! Here it is, the big reveal of my most recent "big project".

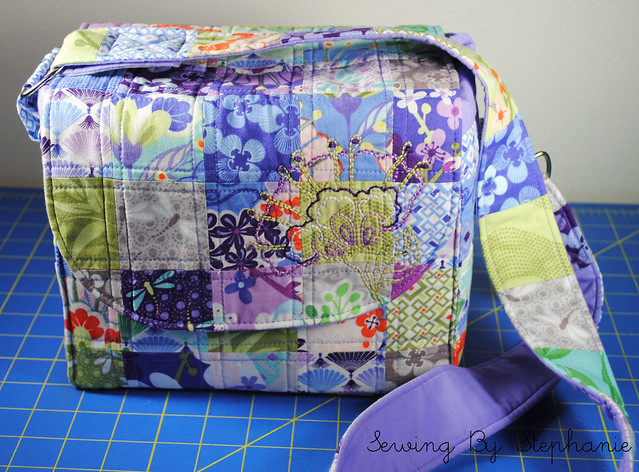
Closed Camera Bag

For my aunt's birthday she requested that I make her a camera bag.  I of course thought, "Hey, no problem, I've already made this camera bag, I'll just make one for her using the same pattern.  Easy-peasey"...  WRONG.

The problem was that my aunt wanted a bag big enough for both her large DSLR and an extra lens, and the largest size in the pattern from Michelle Patterns that I used to make my padded camera pouch is nowhere near big enough to hold her camera let alone the extra lens.  Okay, I had to scrap the idea to use the pattern... instead I decided to make my own.

For years before I became a serious sewist I made up all of my own bag patterns, and believe me, they were functional but not pretty.  Over the last few years though since I've been serious about my sewing I've picked up lots of new tricks and I wanted to use them to make this camera bag.

 Here was the check list of features I wanted the bag to include:
-lots of padding
-structured
-zippered pocket for phone/wallet
-side pocket
-top flap
-adjustable strap
-divided interior

I actually managed to get all of the things on my checklist done except for the adjustable strap.  I couldn't find any hardware locally for the strap so instead I just made it a fixed length.

Open Camera Bag

 For fabric I went with a line I knew she would love, Good Fortune by Kate Spain, which I had a charm pack of as well as some fat eighths I bought from Bloomerie Fabrics.  For the lining I used a solid purple that I had laying around.

 I cut each charm in quarters and then arranged them to make a patchwork exterior.  I kept the quilting very simple and just straight-line quilted 1/4 inch from each seam on the patchwork.  For the bottom I faked the patchwork quilting since I used a solid piece of fabric for the base instead of making it patchwork.

Base of Camera Bag
Base of Bag
To make my bag both super padded and structured I used two different Pellon products: Pellon 71F ultra firm stabilizer and Pellon thermolam plus.  I actually used three layers of the thermolam to get all the padding I wanted, and one layer of the ultra firm stabilizer between the thermolam layers to add stiffness.  I thought it might be too much for my sewing machine needle to get through but it sewed through all the layers like a champ.

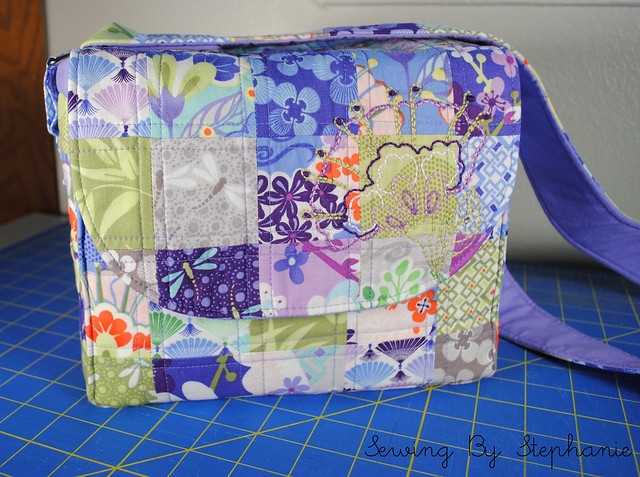
Closed Camera Bag

To make the bag a little more special I did a little embroidery in the flap.  I used one of the prints from Good Fortune as inspiration and drafted my own pattern on the flap and then embroidered it using perle cottons.  It's kind of hard to see in the pictures since the patchwork background is so busy but I think it adds a graceful touch to the bag.

Detail of Emberoidery on Camera Bag
Detail of Embroidery on Bag
Zip on Back of Camera Bag
Zippered Pocket
On the back of the bag I put in a zippered pocket.  I actually made a mistake putting it in and cut the hole for the zipper too wide, so in the end I had to struggle to get the zipper secure since it was almost too narrow for the hole I made for it.
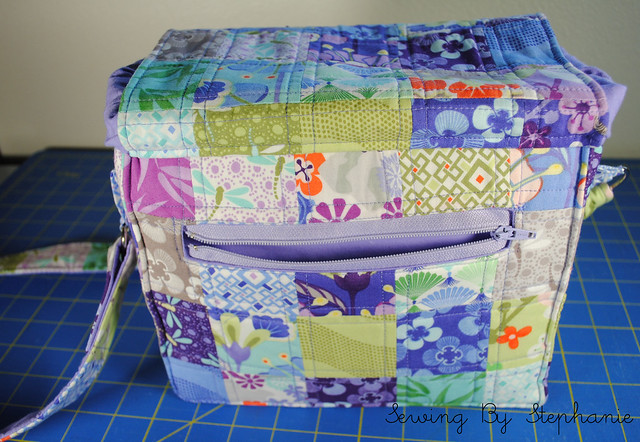
Open Zip On Back
Open Zippered POcket
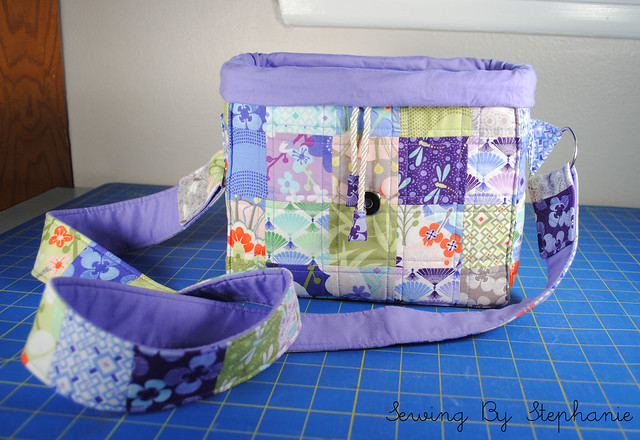
To add to the security of the camera bag in addition to having a flap I also made a drawstring closure to keep the camera in the bag.  I used a technique very sililar to the one described by Michelle in her padded camera pouch pattern but altered to fit the dimensions of my bag.
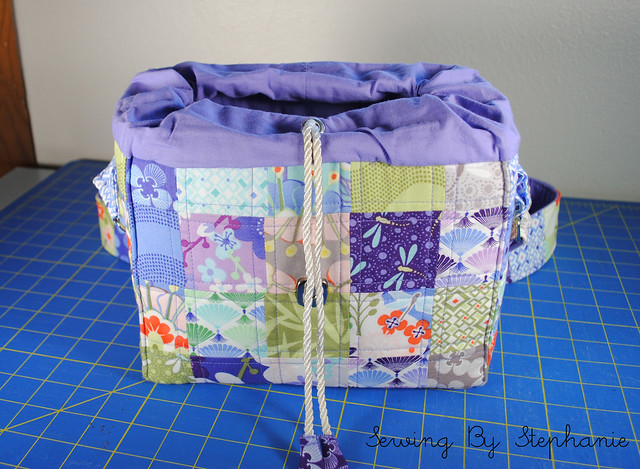
Camera Bag Drawstring
Drawstring Closure
I also added fabric to the end of the drawstring for a little extra decoration and also to hide the knots at the ends of the rope.

Camera Bag Pull Ties
The side pocket is also the perfect size to hold a lens cap or possibly even a map or phone.
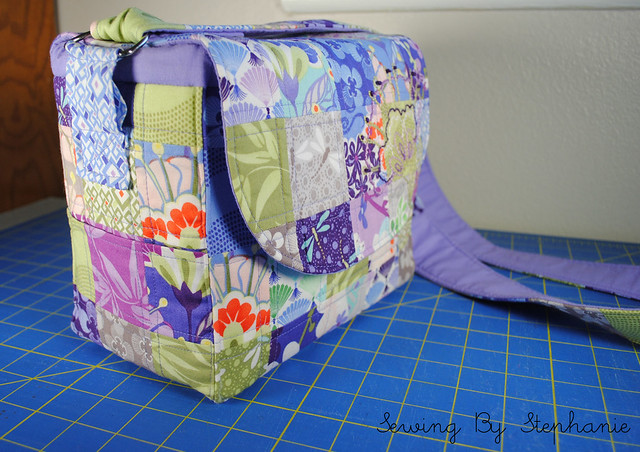
Camera Bag With Side Pocket
Side Pocket
And last but not least the inside!  I made a padded divider to go inside the camera bag so that the camera and the extra lens don't bump into each other when they're in the bag.  I had to take this phot with my small point and shoot because as you can see in the picture, my normal camera is in the bag!

Inside Camera Bag
Divided Interior
I truly, honestly, love this bag.  It was pretty difficult to part with.

To be honest, I've been wanting to make a camera bag for my own DSLR + extra lens for a while now and just haven't made the plunge, so making one as a gift to kind of "test the waters" has been great.  Now I just need to find the time and the perfect fabric so I can make one for myself hopefully before Sewing Summit next month **fingers crossed**.


name

Sunday, July 29, 2012

Padded Camera Pouch + Sale at Michelle Patterns!

Happy Sunday!

I wanted to pop in today to let you all know that there's a sale going on at Michelle Patterns for 20% off your purchase of $10 or more!  And hurry!  The sale ends today.  Just use the code: twozip
Michelle Patterns has some amazing patterns.  Each of them are easy to follow and result in a great product, and she just released two new patterns: the Two Zip Hipster and the Convertible Clutch.

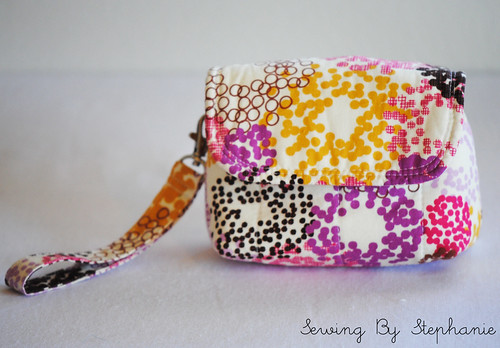
In anticipation of going to the International Quilt Festival in Long Beach I recently made myself a Padded Camera Pouch and I love it.  A few weeks ago on a trip to M&L fabric store in Anaheim I bought myself two yards of Just Dandy by Josephine Kimberling for Robert Kaufman in the pink colorway with the idea to make travel accessories for myself to use when I go to Sewing Summit and decided that this was a good time to cut into it.

The pattern comes in 4 sizes: small, medium, large, and extra large.  Since I wanted my camera case to be big enough to also hold my phone and a few credit cards I went with the medium sized pattern.  The pattern took probably two hours or so to complete, which is not bad for me considering I had never made the pattern before.

Padded Camera Pouch
Padded Camera Pouch with Strap
I made a few adjustments to the pattern, including adding a strap.  I did to by adding a D-ring onto the body of the camera pouch itself and then making myself a removable wristlet key fob strap using a swivel clasp that clips onto it when I want the bag to have a handle.

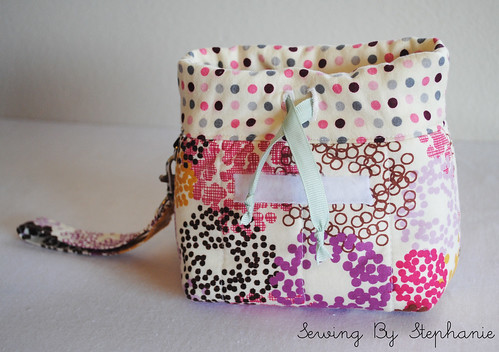
Open Padded Camera Pouch
Open Camera Pouch
The pattern also calls for an eyelet hole for the drawstring but since I didn't have one on hand I just made a buttonhole hole and it works great.
 
Closed Padded Camera Pouch
Closed Camera Pouch
The whole thing cinches up so I never have to worry about stuff falling out if the flap were ever to open while carrying it on my wrist.  
 
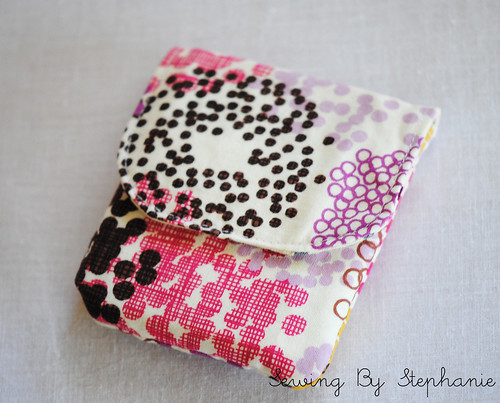
Closed Little Wallet
Closed Wallet
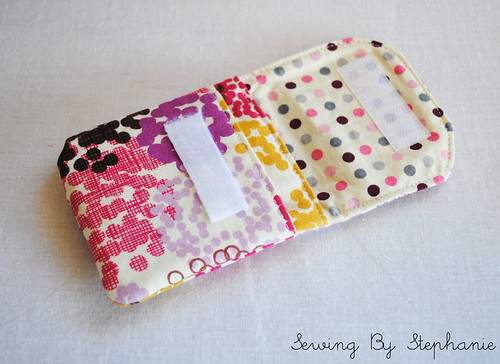
Since I wanted to carry a small wallet in my pouch to the quilt show I whipped up this little one to match.  I used the Basic Wallet Pattern that I've used before here but instead of making it full sized I made it two inches shorter.  The wallet I ended up with is just the perfect size to hold a few credit cards in the front pocket and some money in the large pocket.
 
Little Wallet
Open Wallet
  I love the way they both came out, and am really looking forward to making myself a few more matching accessories before Sewing Summit.  I'm thinking a makeup bag, a camera strap, and maybe a duffel or tote?  Not sure yet, but I LOVE this fabric!

Padded Camera Pouch and Little Wallet
Camera Pouch and Wallet
Happy Sewing everyone!  I hope you take advantage of the last day of the sale (7/29) and stock up on some awesome patterns from Michelle Patterns.

(Fair warning: this is a sponsored post, but the opinions are 100% true and my own)

Monday, June 11, 2012

New York 241

Happy Monday!!!

Saturday morning I got up bright and early and dragged all my stuff and my camera outside and had a very successful photoshoot.

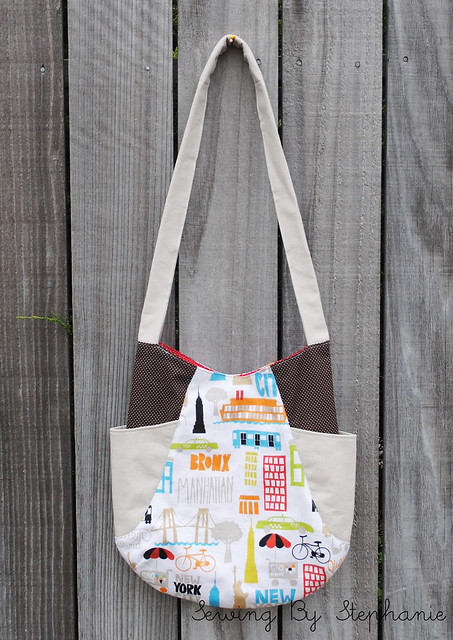
The thing I was most excited to photograph was my new bag.  I've been wanting to make a bag using Anna of Noodlehead's 241 Tote pattern for awhile and thought that my fun new New York print fabric would be perfect.

Ta-DA!  Here it is! My new New York 241 Tote.

NY 241 Tote

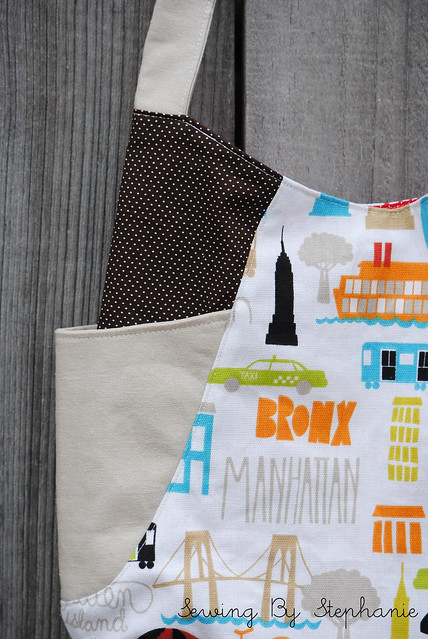
Anna's pattern was really easy to follow.  I don't think I made any alterations to the pattern as I went.  Well, I made the inside pocket smaller than the directions called for, but it was only because I had a scrap that I wanted to use that was smaller than the size the pattern called for.

NY 241 Tote

I really love this bag.  It's such a great shape and can hold a deceptive amount of stuff.

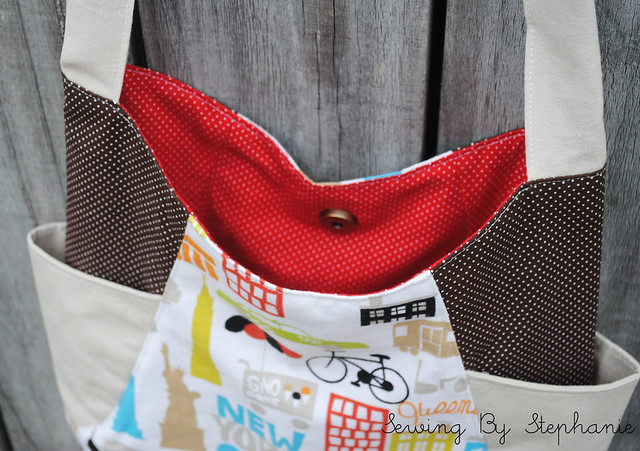
NY 241 Tote

The inside is lined with a red polka dot.  I'm a sucker for polka dots.

I think I'm going to make myself a wallet to match using either the check book pattern from Amy Butler's Style Stitches or the 3 Layer Clutch from Gingercake Patterns.  Has anyone made either of these patterns?  Do you have any useful tips I should know about? Which do you think I should choose?


Ellison Lane Quilts Fresh Poppy Design Sew Happy Geek

I'm entering this bag in the Summer Sewing Series at Ellison Lane Quilts as well as linking this post up with a few linky parties.

Sew Festive Handmade

 I'm also super excited to mention the "Christmas in July" series starting up in the beginning of July over at Sew Festive Handmade.  I'm looking forward to making some Christmas decorations!!!

-Stephanie
 
p.s I just found out that there's another "Christmas in July" blog hop going on over at Don't Call Me Betsy

Friday, June 8, 2012

Failed Photoshoot + Follower Giveaway Winner

My sewing machine has been super busy over here and I've managed to crank out a few fun projects this week.  This morning I gathered up all the things I've made along with my camera and other essentials for a photoshoot (lint roller, scissors to snip missed threads, pin cushion) and trudged outside, only to discover that the sun had burst through the clouds earlier than normal and it was too bright to get a decent picture. 


So instead this will have to tide you over until I can get good photos.  A stack of all the goodies I made.

Before I get to the giveaway winner I want to mention one more thing: I have a sponsor!  I never quite knew how sponsorships really worked until I was contacted yesterday by a creative assistant for Michelle Patterns asking me if I wanted to be an affiliate.  Well of course I said yes, I've been in love with Michelle Patterns ever since it was Keyka Lou Patterns.  So now I have a button in my sidebar that takes you to Michelle Patterns and I get a small commission if you buy something through my link.

Well I was so excited after I got the email that I busted out Michelle's Basic Wallet sewing pattern and got sewing.  And that brings us to the follower giveaway!  I told you all two weeks ago in this post that I would soon do a follower giveaway with the winner drawn out of the people who publicly follow me through Google Friend Connect and those who commented on the post.

I drew the winner this morning and our winner was #173


Congratulations Shannon!  I messaged you, please email me back before next Friday June 15th.

And what did she win?  She won a wallet I made using Michelle's Basic Wallet Pattern.

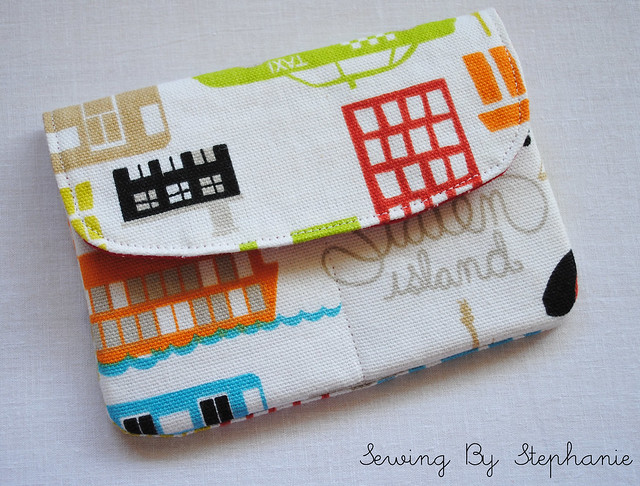
NY Wallet Front

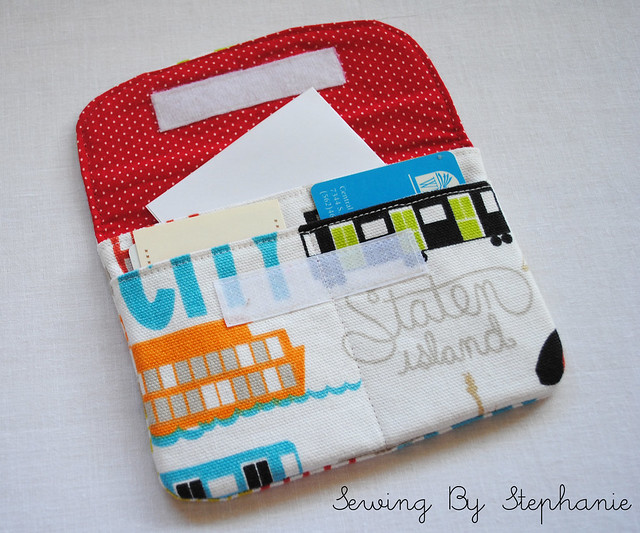
NY Wallet Open

NY Wallet Back

I picked up the fun New York home dec fabric while I was at Joanns and I love it.  If you look closely at the picture of all the stuff I made this week you'll spot it in there as well.

-Stephanie
Related Posts Plugin for WordPress, Blogger...