Thursday, June 14, 2012

A Mens Wallet Tutorial

Today I have a tutorial for all of you!  (I'm not usually huge on making tutorials but I thought I'd give it a shot.  Any feedback you have for me on how I formatted my tutorial would be very appreciated!)

I always have a hard time figuring out what kind of things to make the guys in my life but one thing I always fall back on is my men's wallet.

Since Father's Day is right around the corner I thought everyone might appreciate a fun gift that takes less than a half hour to make.

Are you ready?


Before you get started here are my two cents:
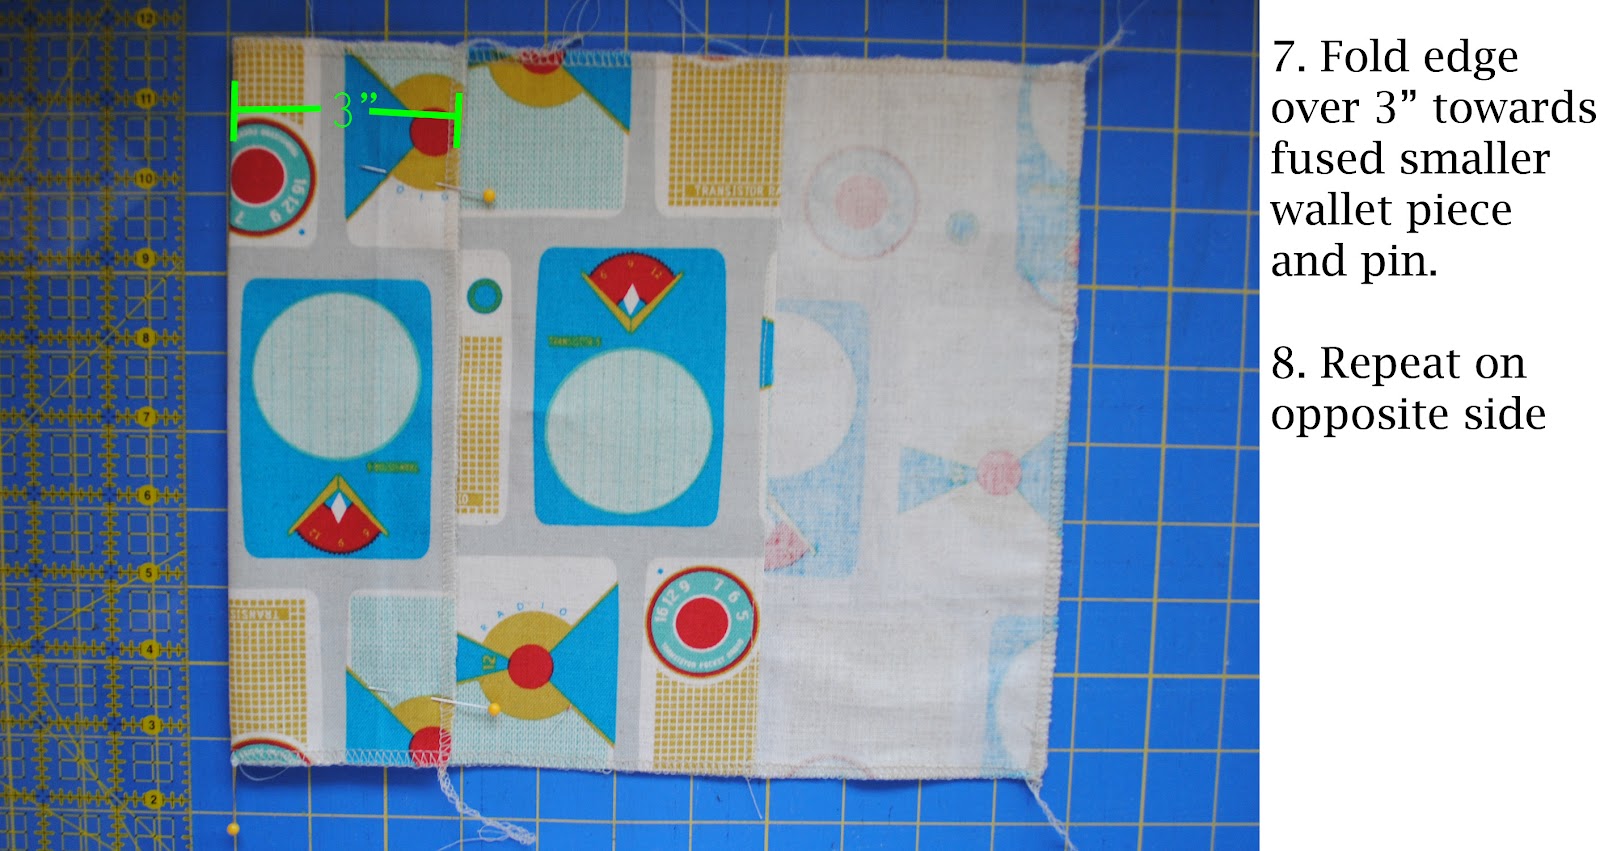
Making this wallet is easiest when you use a double-sided fabric such as Duck canvas or solar umbrella cloth since you don't need to fuss with fusing a second piece onto the main piece (skip steps 2-5), but if you want to use a printed fabric you'll need to follow all steps.

I don't recommend using any fabric lighter than home decor weight cotton.  If you choose to use something lighter I heavily recommend using a fusible interfacing on the back side of the fabric to give it extra stiffness.

Ok, enough of my two cents.  Time to start making a wallet!


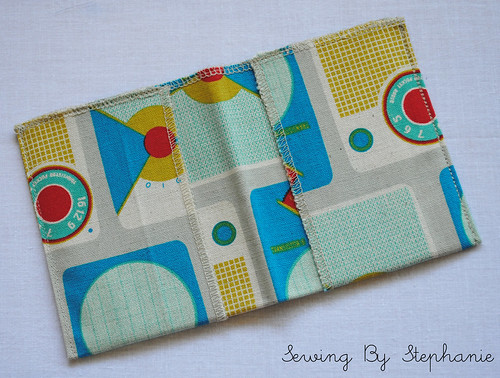
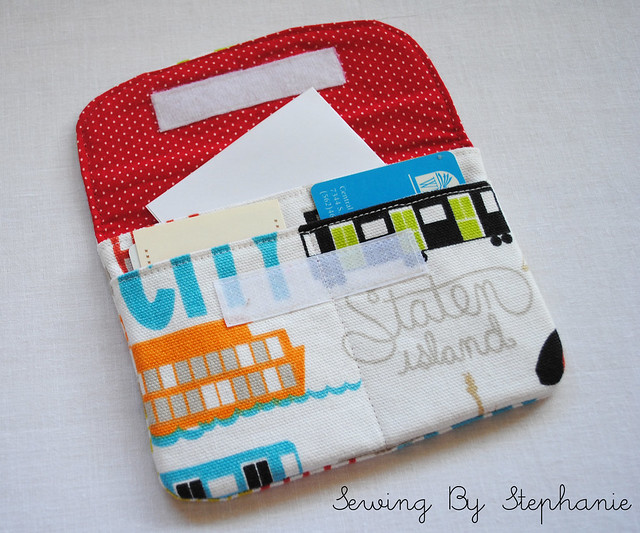
The finished wallet has two large pockets on the outside perfect for holding reciepts, business cards, or whatever a guy carries in his wallet.  The inside of the wallet has 4 slots for holding credit cards and IDs, and the top of the wallet opens with a space for holding cash.


This wallet is especially nice for guys who don't like having a big bulky wallet, and the way the cards are laid out allows the wallet to bend with the curve of a butt when a guy goes to sit down.

If anything in the tutorial is unclear please let me know and I'll fix it.  I hope you enjoy making this!
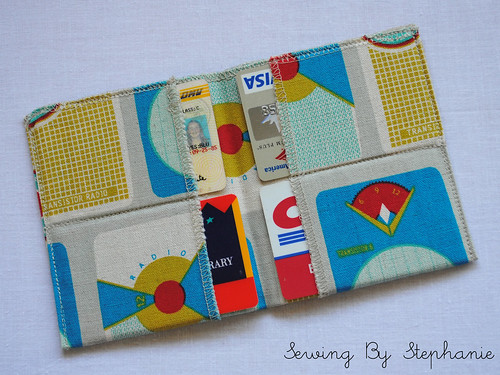
Open Men's Wallet
Standing Men's Wallet
Back of Open Men's Wallet

-Stephanie


Plum and June Sew Happy Geek Fresh Poppy Design

p.s. I'm linking up this tutorial with a few linky parties.

Wednesday, June 13, 2012

Super Mario Bros QAL

I am SO looking forward to this one:

Cut To Pieces

Monday, June 11, 2012

New York 241

Happy Monday!!!

Saturday morning I got up bright and early and dragged all my stuff and my camera outside and had a very successful photoshoot.

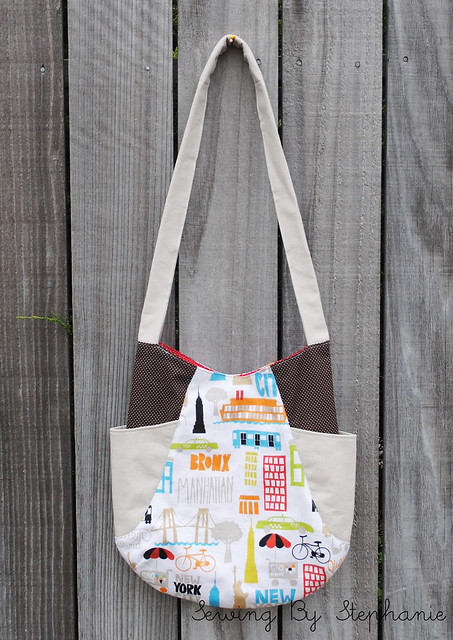
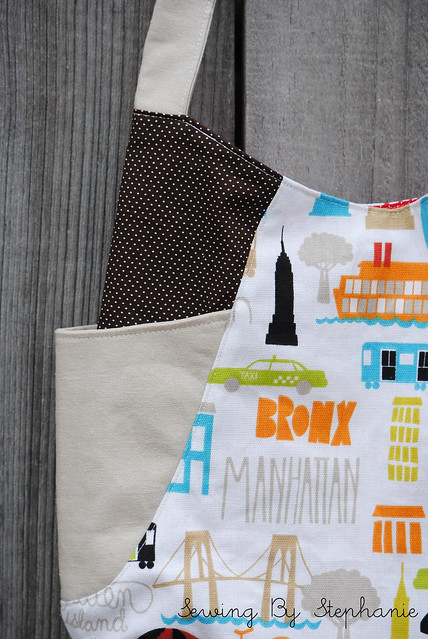
The thing I was most excited to photograph was my new bag.  I've been wanting to make a bag using Anna of Noodlehead's 241 Tote pattern for awhile and thought that my fun new New York print fabric would be perfect.

Ta-DA!  Here it is! My new New York 241 Tote.

NY 241 Tote

Anna's pattern was really easy to follow.  I don't think I made any alterations to the pattern as I went.  Well, I made the inside pocket smaller than the directions called for, but it was only because I had a scrap that I wanted to use that was smaller than the size the pattern called for.

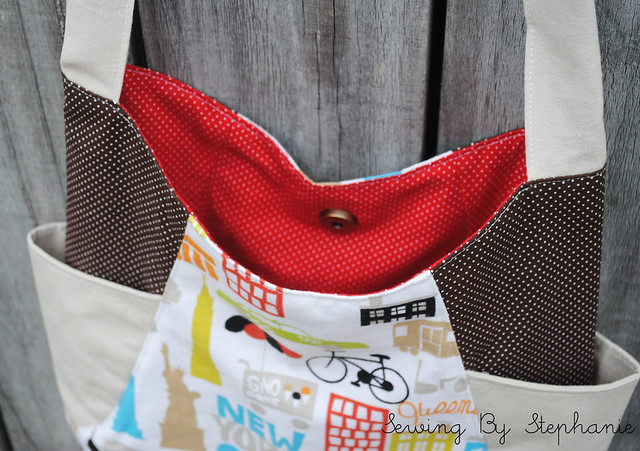
NY 241 Tote

I really love this bag.  It's such a great shape and can hold a deceptive amount of stuff.

NY 241 Tote

The inside is lined with a red polka dot.  I'm a sucker for polka dots.

I think I'm going to make myself a wallet to match using either the check book pattern from Amy Butler's Style Stitches or the 3 Layer Clutch from Gingercake Patterns.  Has anyone made either of these patterns?  Do you have any useful tips I should know about? Which do you think I should choose?


Ellison Lane Quilts Fresh Poppy Design Sew Happy Geek

I'm entering this bag in the Summer Sewing Series at Ellison Lane Quilts as well as linking this post up with a few linky parties.
Sew Festive Handmade

 I'm also super excited to mention the "Christmas in July" series starting up in the beginning of July over at Sew Festive Handmade.  I'm looking forward to making some Christmas decorations!!!

-Stephanie
 
p.s I just found out that there's another "Christmas in July" blog hop going on over at Don't Call Me Betsy

Friday, June 8, 2012

Failed Photoshoot + Follower Giveaway Winner

My sewing machine has been super busy over here and I've managed to crank out a few fun projects this week.  This morning I gathered up all the things I've made along with my camera and other essentials for a photoshoot (lint roller, scissors to snip missed threads, pin cushion) and trudged outside, only to discover that the sun had burst through the clouds earlier than normal and it was too bright to get a decent picture. 


So instead this will have to tide you over until I can get good photos.  A stack of all the goodies I made.

Before I get to the giveaway winner I want to mention one more thing: I have a sponsor!  I never quite knew how sponsorships really worked until I was contacted yesterday by a creative assistant for Michelle Patterns asking me if I wanted to be an affiliate.  Well of course I said yes, I've been in love with Michelle Patterns ever since it was Keyka Lou Patterns.  So now I have a button in my sidebar that takes you to Michelle Patterns and I get a small commission if you buy something through my link.

Well I was so excited after I got the email that I busted out Michelle's Basic Wallet sewing pattern and got sewing.  And that brings us to the follower giveaway!  I told you all two weeks ago in this post that I would soon do a follower giveaway with the winner drawn out of the people who publicly follow me through Google Friend Connect and those who commented on the post.

I drew the winner this morning and our winner was #173


Congratulations Shannon!  I messaged you, please email me back before next Friday June 15th.

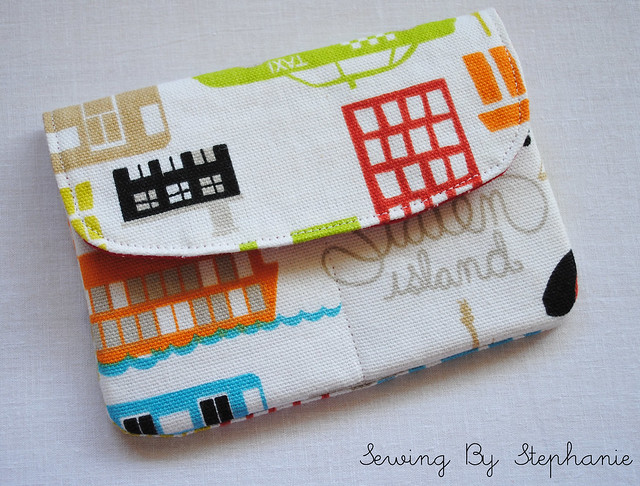
And what did she win?  She won a wallet I made using Michelle's Basic Wallet Pattern.

NY Wallet Front

NY Wallet Open

NY Wallet Back

I picked up the fun New York home dec fabric while I was at Joanns and I love it.  If you look closely at the picture of all the stuff I made this week you'll spot it in there as well.

-Stephanie

Tuesday, June 5, 2012

One more thing

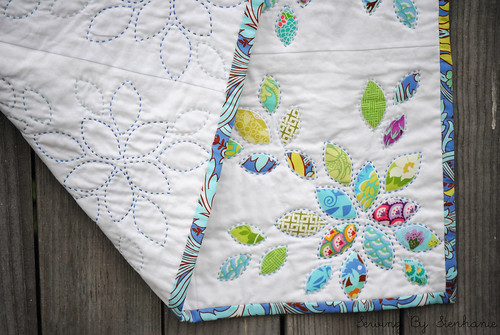
Aaah!  I just realized that I forgot to mention that I won "Favorite Hand Quilted Quilt" in the Bloggers Quilt festival with my Little Leaves Quilt.

Little Leaves quilt detail

YAY!!!

To check out all the winners read this post at Amy's Creative Side

Reversible Table Runner

Is it tablerunner or table runner?  I never know.

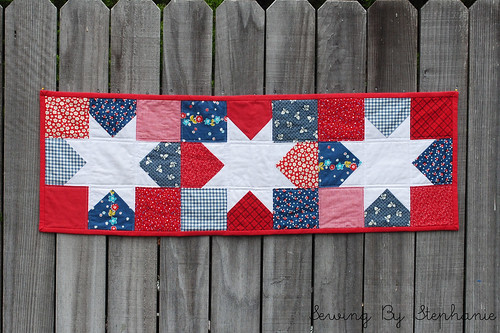
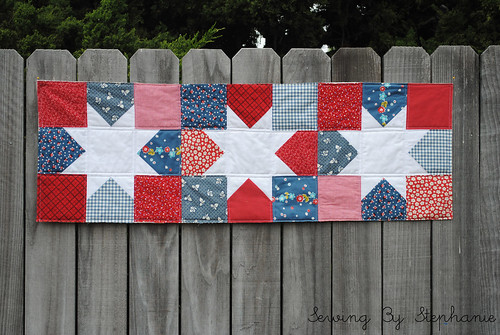
Reversible Table Runner: 4th of July SIde

Anyways, I have today for your viewing pleasure a new tablerunner/ table runner that I made.  I had the idea that I wanted to make a patriotic tablerunner to go on the breakfast bar in my kitchen.  I looked around the interwebs and found this one from Fat Cats Quilts.  Finding fabric in y stash was easy.  I keep all my Denyse Schmidt fabric from Joanns next to each other in my stash and they always seem to scream "patriotic" in their red, whites, and blues so I grabbed them.  Unfortunately all the red DS fabrics I had had too much white in them, so I scrapped them and instead just pulled reds from my stash.

And there's a surprise!  It's reversible!!!

Reversible Table Runner: Everyday Side

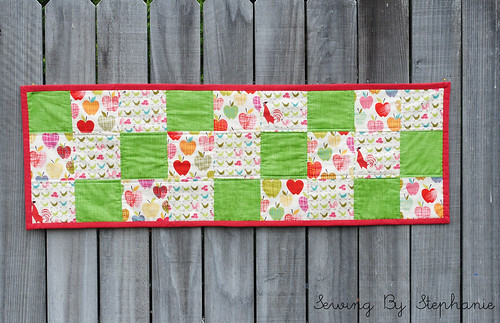
When trying to figure out a backing I had the thought that it would be nice to make a tablerunner for the breakfast bar that was a little more "everyday".  Rooting around in my stash I found some Alexander Henry Farmdale and paired them with a green that has some darker green cross-hatching and came up with this design.  The colors photograph a little oddly but in person it's really beautiful.

I still need to bind it.  It's on my list to go to the store today and get some red fabric with tiny white polka dots to use for binding.

edit: It's bound!  I absolutely LOVE it!

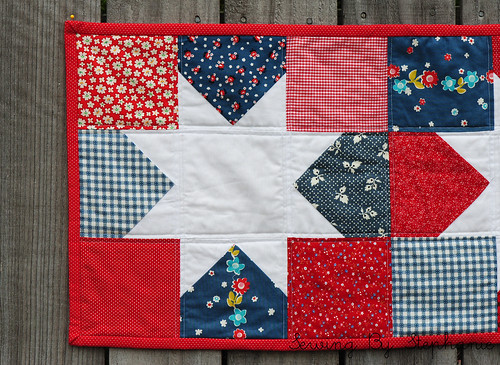
4th of July Table runner Close up Both Sides Back of Table runner

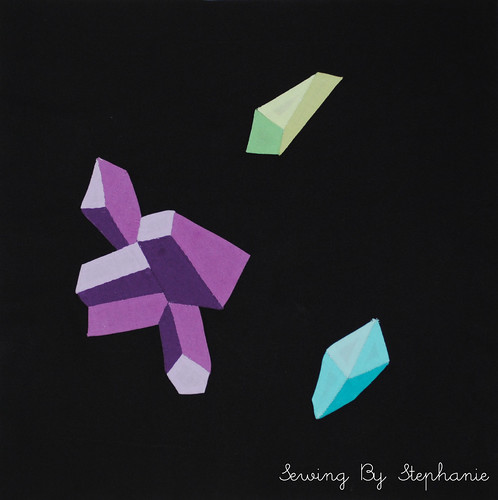
Over the weekend I also finished my June block for Stash Bee.  This month we were required to make crystalline shapes on a black background.  I hand pieced mine and ended up appliquing it by hand as well.  It was a very relaxing project and I really love the way my block turned out.

June Block for Stash Bee

BTW, this thing is HUGE.  It measures 15.5"x15.5"

-Stephanie
p.s. I'm linking up this week with Manic Monday Linky Party, Sew Modern Monday, and Fabric Tuesday.
Related Posts Plugin for WordPress, Blogger...